View Delivery Tickets created in Agvance by selecting the Viewing menu and choosing Delivery Tickets. The grid operates much like an Excel spreadsheet. For more on how to use this grid, see Using Grids in Agvance SKY.
Jobs listed can be filtered by selecting the Filters icon and specifying criteria.
Quick Filters set up under Personalize can be selected from the Quick Filters menu in the bottom navigation. Quick Filters give the ability to apply multiple filter criteria at one time.

View Delivery Drivers assigned to jobs or assign/unassign them from this page. Blue fonts indicate this field can be selected to view more information or make changes to the job.
When jobs are marked as Completed, a text and/or email notification is sent to growers in Grower360.
New ticket notifications display at the top of the Jobs grid only for Locations enabled under Personalize. Select Refresh Grid to bring the new job into the list.

Search Bar
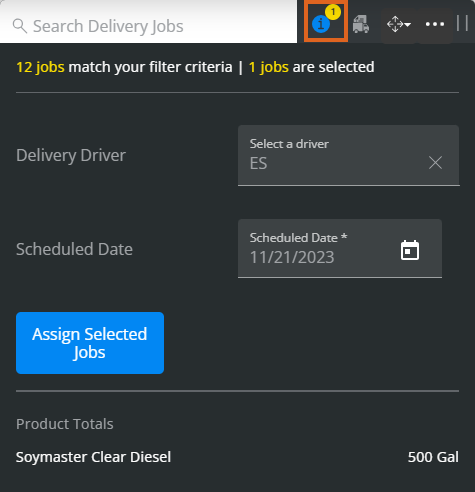
- More Information Icon – This displays Product Totals. and gives the ability to indicate a Delivery Driver. Upon selecting an Assignee, the ability to indicate a Scheduled Date displays.

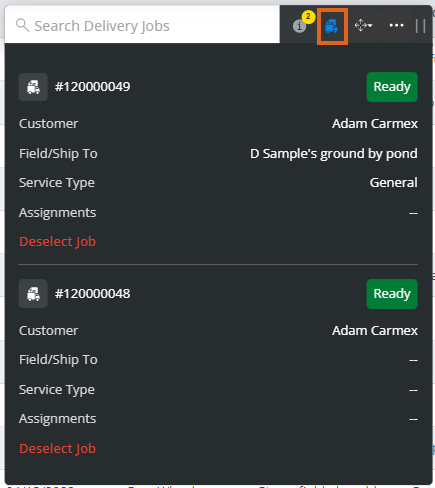
- Selected Job Information – View information related to the selected jobs including the Customer, Field/Ship To, Service Type, and Assignments.

- Dock Search Bar – Dock the search bar to the right, left, or top of the screen.
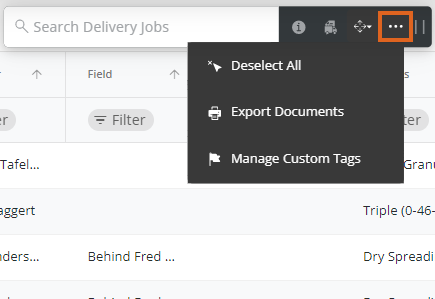
- More Options – Choose the Ellipsis to Deselect All, Export Documents, or Manage Custom Tags.

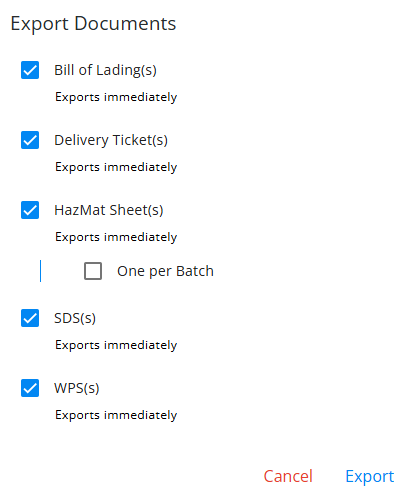
- Selecting Export Documents gives the option to export Bill of Lading(s), Delivery Ticket(s), HazMat Sheet(s), SDS(s), and/or WPS(s) as PDFs.
If multiple Delivery Tickets are selected, one PDF will open with each Delivery Ticket and/or Bill of Lading having its own page in the file. Additionally, jobs will be displayed in the order they are selected.
Note: An established Agrian link is required to export SDS and WPS documents.
- Choosing Manage Custom Tags gives the ability to add or remove Custom Tags per job(s) selected.
- Selecting Export Documents gives the option to export Bill of Lading(s), Delivery Ticket(s), HazMat Sheet(s), SDS(s), and/or WPS(s) as PDFs.
- Drag Search Bar – Select and drag to move the search bar to a different area.
Delivery Ticket Details
Selecting a Delivery Ticket displays the Delivery Ticket Details window which includes the Customer Info, Custom Tags, and Product s.
The Customer Info section includes the Customer, Address, and Ship To. Select the Pencil icon next to the Priority to modify if needed.
Note: Priority Levels must first be established before they can be added to a Delivery Ticket.
In the Custom Tags section, select in the text field to add from the drop-down.
Note: Custom Tags must already be set up on the Custom Tags tab under Company Settings.
Additional Info displays a list of available image files. Selecting an image automatically downloads it to the device’s Downloads folder for viewing or saving.

The Products section displays the Description and Quantity.


