Easily verify or add GLN information associated with a Customer or manufacturer.
- Navigate to Accounting / File Folder / Customers, locate the Customer, and select Edit.
- Choose Attributes to determine if the GLN is listed.
- Add the GLN manually by entering the appropriate information in the Attribute Value column. Select Done.
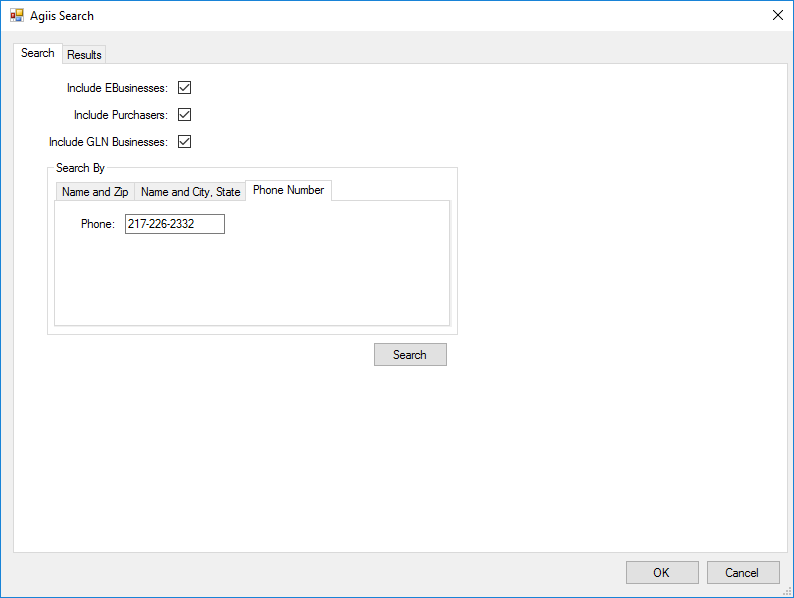
- The GLN can also be added or verified by selecting AGIIS on the Customer’s Profile tab.
- Select a tab to search by Company Name, Last Name and Zip, Name/City/State, or by Phone Number. Enter the search criteria and choose Search.
- Information returned from AGIIS displays in the top grid of the Results window, select the appropriate row. Once selected, data populates in the second, third, and bottom grids.
Note: If more than one result returns, be sure to select a listing marked IsActive and GLN information is populated in the third grid.
- In the third grid, select the Type GLN. Verify the selected GLN is associated with a Tech License number, displayed in the grid to the right of the GLN information.
- The bottom grid contains the following columns:
- Agvance – Populated with information from the Customer file.
- AGIIS – Information returned from AGIIS.
Note: Information in the AGIIS column can be edited or data not provided by AGIIS can also be entered.
- For each Element in Agvance to be updated with the AGIIS results, select the checkbox in the Update column. Optionally choose Tag All to select all rows.
- Select OK to update the Customer file and return to the Profile tab.
- Select a tab to search by Company Name, Last Name and Zip, Name/City/State, or by Phone Number. Enter the search criteria and choose Search.
- Optionally, on the Profile tab, select Attributes to verify the GLN information was added in the Attributes window.
- Choose Save.


