When paying for specific Product, it is important to follow the instructions below through the entire process.
A good report to help track Prepay versus regular activity of a Vendor is the Vendor Detail report found in Accounting Reports at Accounts Payable / A/P Status / Vendor Detail. This report is a scan of the General Journal for all payable entries related to the specified Vendor. The Regular balance activity and Prepay activity is displayed separately.
A prepaid Purchase Order is a way to track Vendor Prepay for a specific Product.
- Go to Inventory / Purchase Orders and choose Add.
- Select the Vendor. Check the Favorite Vendors option to only display Vendors set up at Hub / Setup / Favorite Vendors.
- Check the Prepay option, then select the Products on the Purchase Order by double-clicking on the Product Name heading in the grid.
- Enter the quantity ordered and either the $/Unit (in billing units) or the $Total of the line item. Select Apply to calculate the unit price or total amount.
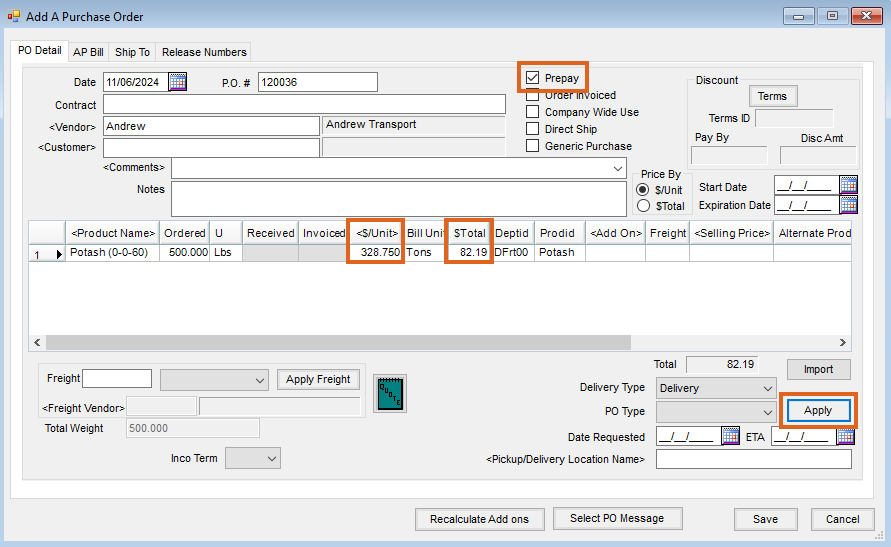
- Any known additional charges, estimated freight, or Add-on Charges may be added at the Purchase Order.
- Choose Save. A message appears stating that an A/P Bill has been created.
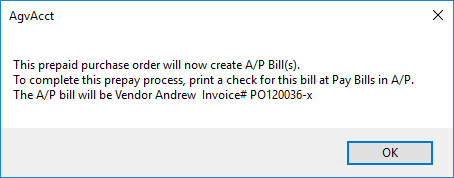
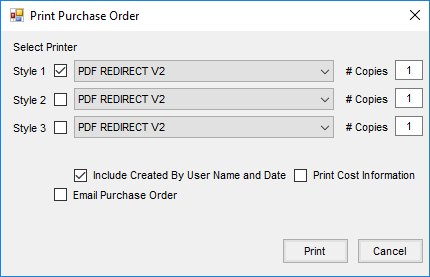
- Select OK and the Print Purchase Orders screen appears. Choosing Print will print the Purchase Order to the printer selected. Optionally make any additional selections before printing. Selecting Cancel closes the Print Purchase Orders screen.
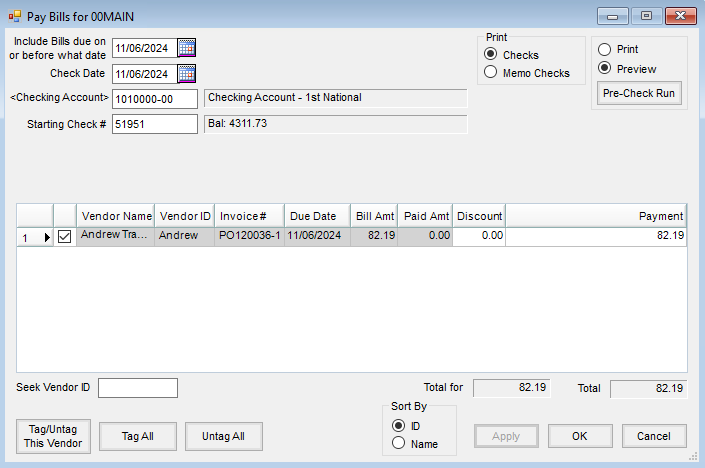
- Go to A/P / Pay Bills, choose the A/P Bill generated by the Purchase Order, print the check, and choose the appropriate posting option.
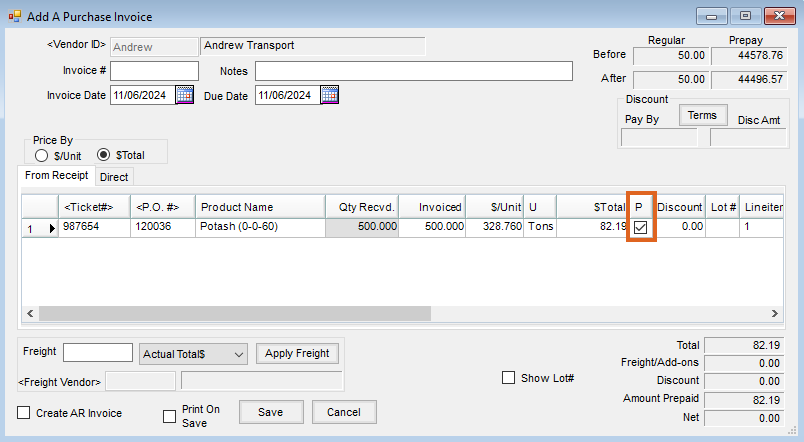
- As deliveries are made against this Purchase Order, reference it at either the Purchase Receipt or the Purchase Invoice screen. When the Purchase Invoice is processed, the P column should be checked to indicate that the item has been prepaid. No A/P Bill is created for the paid portion of the Purchase Invoice.