Creating a Blend Ticket can be handled in a variety of ways. This video walks through the steps of creating a Chemical Blend Ticket when using surfactants.
- Navigate to Blending / File / Open / Blend Ticket.
- On the Select a Blend Ticket window, select the Customer and Field. Choose Add.
- On the Select a Field window, verify the bill splits and choose OK.
- On the General tab, choose a Crop, Placement, and enter any Billing Notes.
- Select the Crop Chemistry to label the Blend Ticket and custom application sheet with the selected chemistry.
- Enter the Quantity and select the unit of measurement.
- Choose a chemical Product Set.
- Select the Optimize By and Price By options.
- Navigate to the Products tab.
- Select the Products to add to the Blend Ticket by double-clicking the Product Name column heading. Choose the Products and select Done.
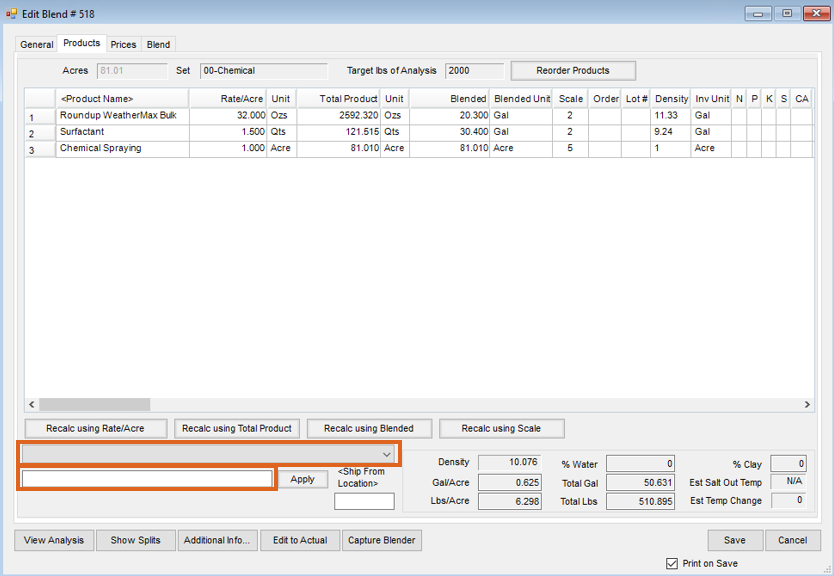
Note: If available, the specific Product Rate/Acre is pulled in from the Product setup file. Rates can be be manually adjusted using the Rate/Acre Calculator. More information on the calculator can be found here. - Expand the Adjust By drop-down and select the option to adjust the blend/mix. For example, to adjust the water in a chemical mix, select Adjust Water to Gal/Acre option.
- In the Apply field, input the desired final spray GPA amount and choose Apply. For example, enter 15 to spray at the rate of 15 gallons/acre.

- Water for Post Application has been added to the bottom of the blend with an Order number of 0. Select Reorder Products to move Water for Post Application to the top of the list.


- Select the Prices tab to adjust Product pricing.
- Select the Blend tab to add Application Comments and Blend Comments or to edit the Batch Breakdown.
- Select Save.


