Applicators can be viewed/added on the Agvance Ops tab under Company Settings.
Switch between Applicators and Drivers by choosing the Ellipsis on the search bar and selecting the appropriate User Type.
Add, edit, and deactivate Applicators and/or update Agvance Ops app permissions.
The Applicator grid operates much like an Excel spreadsheet. For more on how this grid functions, see Using Grids in Agvance SKY.

Columns with a Checkmark indicate that the feature/option is enabled, and an X signifies it is not for that Applicator.

Add Applicators
New Applicators can be added by selecting the + icon found in the lower right-hand corner of the window.
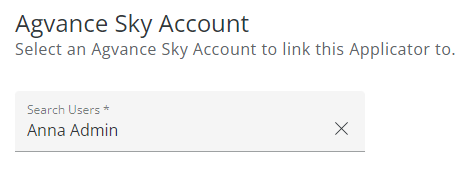
- Select the User from the drop-down.
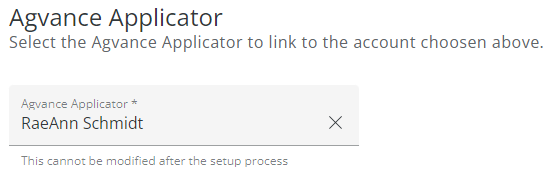
- Choose the Agvance Applicator from the drop-down. This selection cannot be changed after finishing the setup process.
- Indicate Permissions for this Applicator.
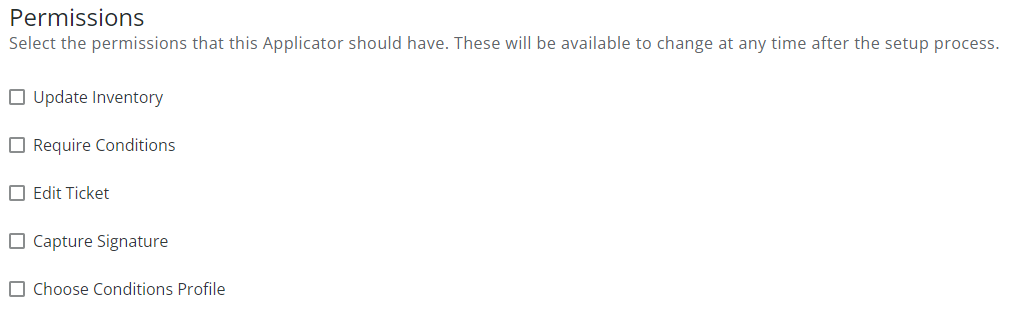 Note: The Choose Conditions Profile option allows the Applicator to choose the Available Condition Profile in the Agvance Ops app.
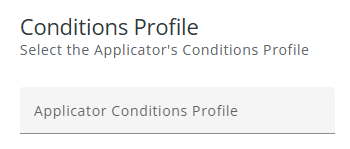
 - Indicate the Applicator's Conditions Profile from the drop-down.
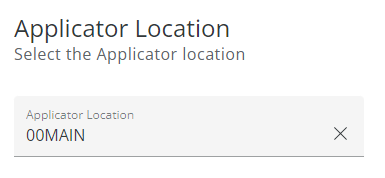
- Choose the Applicator's Location.
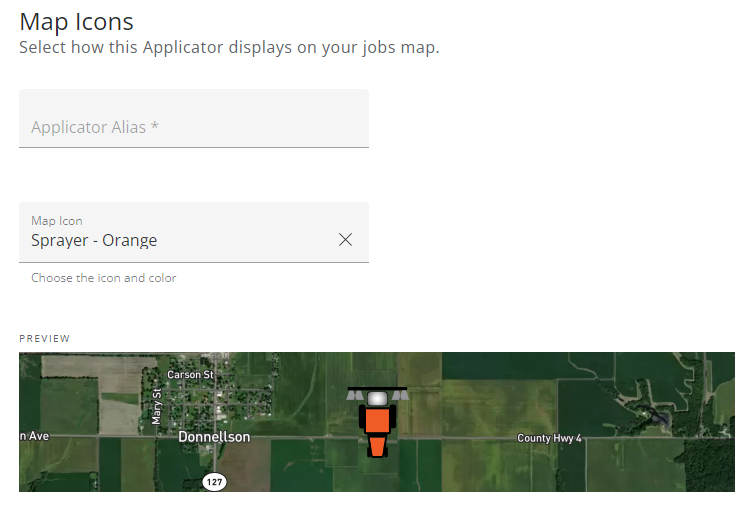
- Enter an Applicator Alias and choose the Map Icon. A preview is available to see what the Applicator will look like on the map.
- Select Save Applicator when finished.


 Note: The Choose Conditions Profile option allows the Applicator to choose the Available Condition Profile in the Agvance Ops app.

Editing Applicators
The following columns can be edited in the grid by double-clicking an editable cell to enter Edit mode.

The number of changes being made can be seen below the row being modified. When finished editing, select Done.
- Applicator Alias – Enter or edit the alias.
- Vehicle – Choose the Vehicle from the drop-down. Start typing to narrow down the list.
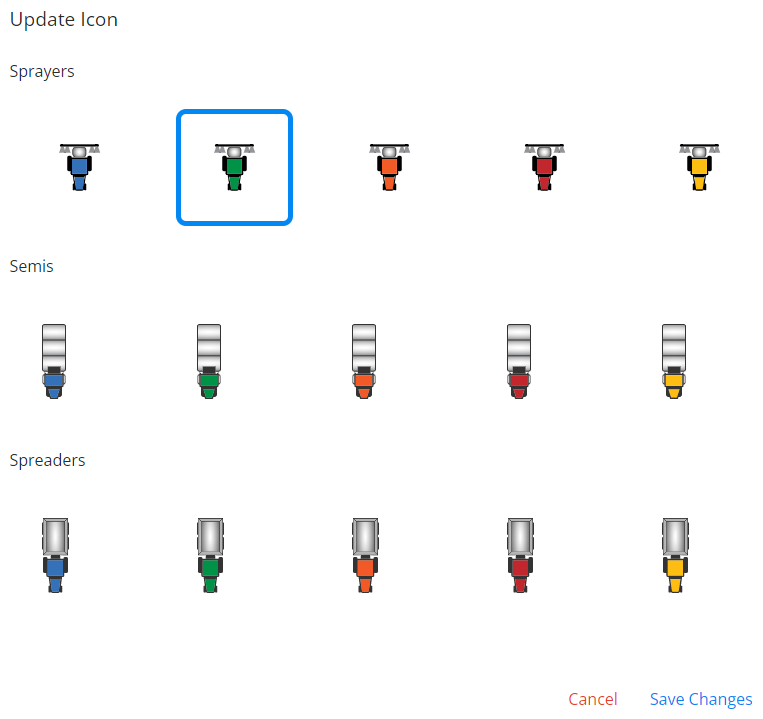
- Map Icon – Select the current icon to open the Update Icon window. Choose a new icon and select Save Changes.
- Update Inventory – Checking this box will mark unloaded tickets as Loaded and will update inventory amounts when an applicator completes a job.
- Require Conditions – With this checked, the Applicator will be required to enter all conditions checked in the Edit Available Conditions area before completing a job. Those who do not have this turned on will have these conditions available as options but will not be forced to enter conditions checked.
- Edit Ticket – With this checked, Applicators can change the number of acres and recalculate the total product.
- Capture Signature – A signature will be required when completing a job after finalizing conditions when this permission is checked.
- Choose Conditions Profile – Applicators with this option checked have the ability to choose the Conditions Profile in the Agvance Ops app.
- Applicator Location – Select the Location from the drop-down.
- Available Conditions Profile – Choose the Available Conditions Profile from the drop-down. These must already be set up by selecting Setup Available Conditions Profile above the grid.
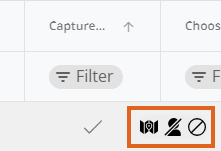
- Applicator Options – Hover over the Applicator line to View Location History, Deactivate Applicator, or Unassign All Jobs.
- Applicators cannot be deactivated if active jobs are assigned to them.

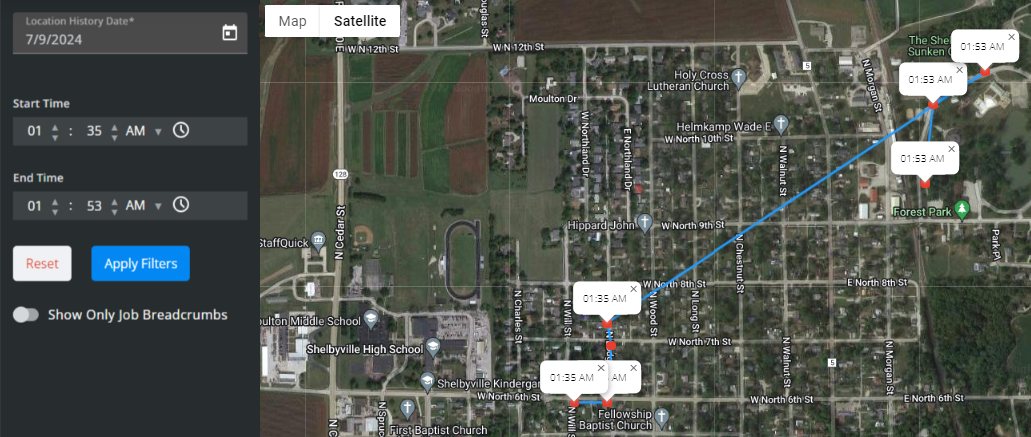
- Selecting View Location History opens a map view with the option to filter by Location History Date, Start Time, and End Time. Once filters are entered and applied, breadcrumbs display to show the Applicator's history.
- Applicators cannot be deactivated if active jobs are assigned to them.


