The following describes how to configure OkiData 320 Microline printers with USB connections to print Wide-3 format Agvance Grain Scale Interface Scale Tickets. This article can also be used as a general guide for setting up these printers for other Scale Ticket formats.
Setup
- Plug the USB cable into a USB port. The print driver automatically loads in Windows 8.
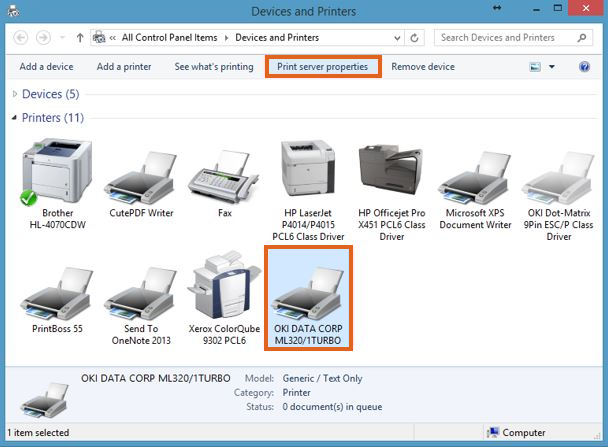
- Select the printer and choose Print Server Properties at the top of the page.
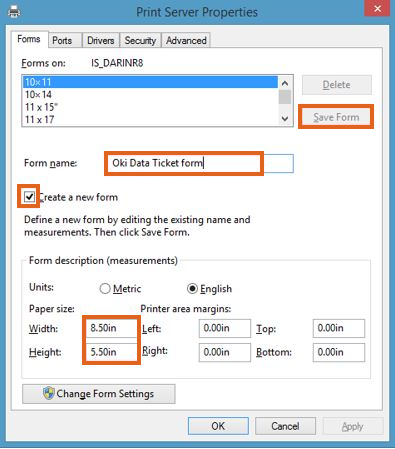
- Check the Create a new form checkbox and enter Oki Data ticket form in the Form Name text box. Change the Width and Height to 8.50in and 5.50in respectively. Select OK to save the form and return to the Devices and Printers window.
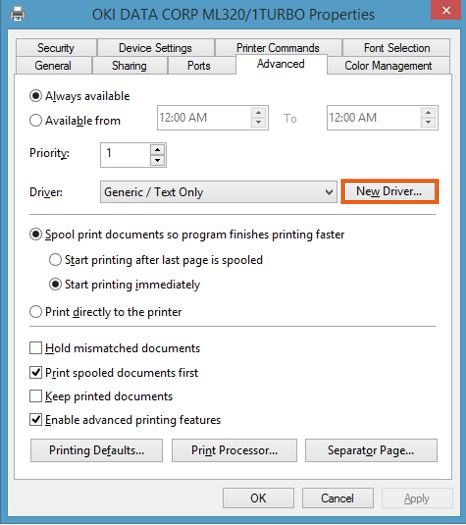
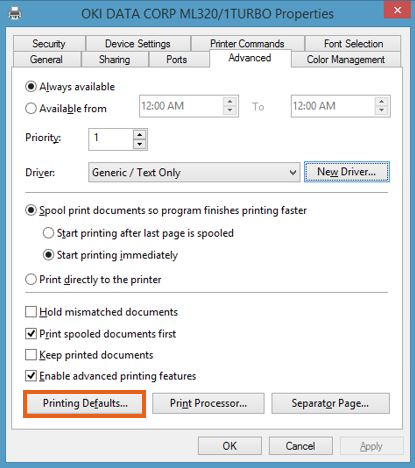
- At the Devices and Printers window, right-click the printer and choose Printer Properties. Go to the Advanced tab.
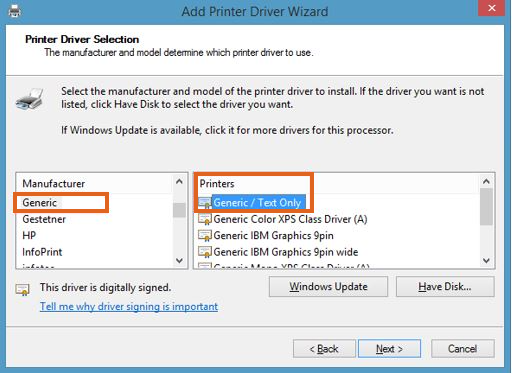
- Select New Driver. Choose Next at the Add Print Driver wizard.
- Select Generic from the Manufacturer area on the left. Under Printers, choose Generic/Text Only.
- Choose Next and then Finish to return to the Printer Properties window.
- On the Advanced tab, choose Printing Defaults. On the Printing Defaults window, select Advanced in the bottom right corner.
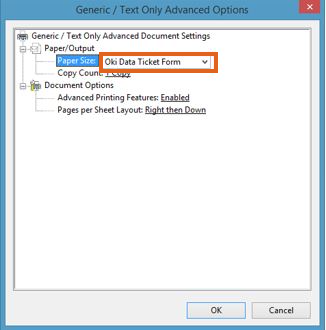
- Change the Paper Size to the Oki Data Ticket Form created earlier. Choose OK twice to return to the Printer Properties window.
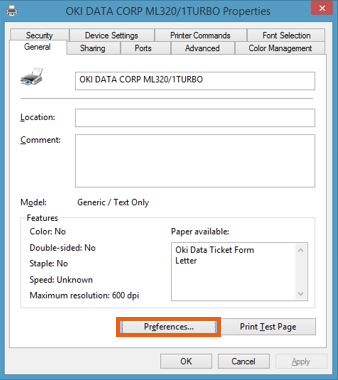
- On the General tab, select Preferences. On the Printing Preferences window, choose Advanced located in the lower left area of the window.
- Change the Paper Size to the Oki Data Ticket Form created earlier and select OK twice.
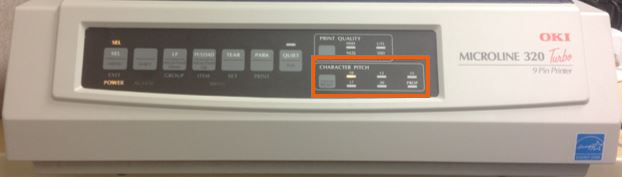
- On the printer, adjust the Character Pitch on the front panel to 10. The OKI Data Printer should now be ready for use.