The Safety Form feature allows users to document details related to a suspicion of a leak or interruption of service call. Once documented, the record can be tracked to completion or resolution of the reported issue.
Each form can be tracked by status.
- In Process — All required fields have been entered and the form is waiting for actions to resolve the issue reported. When finished, this form status can be updated.
- Complete — All actions to resolve the issue have been completed.
- Voided — The form was not completed and has been removed from the list of forms that are pending.
Example: A duplicate entry.
Permissions
There are 4 unique roles to allow providing the correct permissions based on job responsibilities. Each permission is singular and does not include the permissions granted by other roles.
- View — Enables access to the Safety Form grid and input window. Does not allow for creating, modifying or voiding.
- Create — Includes viewing access and the ability to create new safety forms as well as the quick access button in the tool bar.
- Modify — Includes viewing access and the ability to modify existing records with a status of pending forms (Incomplete or In Process). This does not provide access to create safety forms.
- Void — Includes viewing access and the ability to change the status of pending forms (Incomplete or In Process) to a status of Voided. This does not provide access to create safety forms.
Creating a New Safety Form
Note: The correct permission is needed to create a record.
There are three methods for creating a new safety form.
From the Customer Menu
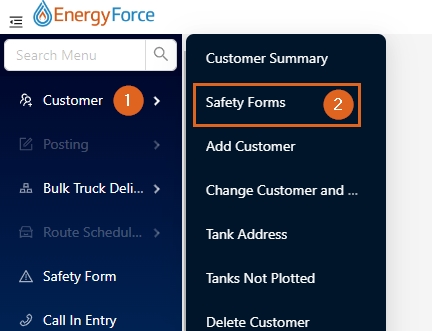
- From the Main Menu, select Customer \ Safety Forms.
- The Safety Form Selection list will appear.
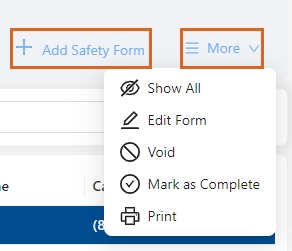
- The Safety Form page appears. To add a Safety Form select the + Add Safety Form button or to edit or void select the More menu dropdown.


Continue to the Filling in a New Safety Form tab above.
From Customer Record
- From the Main Menu, select Customer \ Customer Summary.
- Locate the desired customer and choose Submit to open the Customer's dashboard.
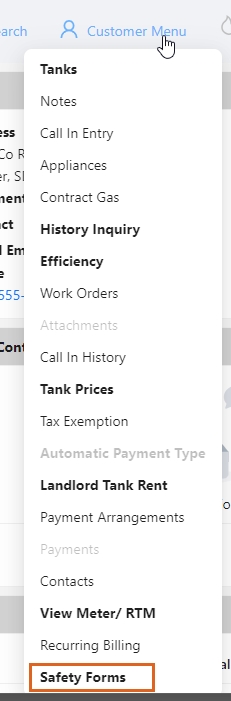
- Hover over Customer Menu and select Safety Forms
- The Safety Form page appears. To add a Safety Form select the + Add Safety Form button or to edit or void select the More menu dropdown.

Continue to the Filling in a New Safety Form tab above.
From Left Navigation Menu
This is a quick way to enter a new form without navigating away from current work. Once the form is completed the previous screen will return.
- From any screen, click the Safety Form menu item on the left navigation panel.
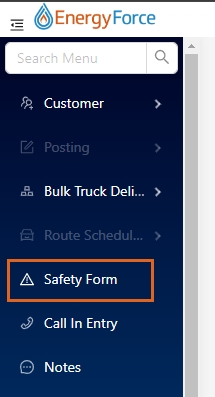
- A blank safety form will appear in a new window.


Continue to the Filling in a New Safety Form tab above.
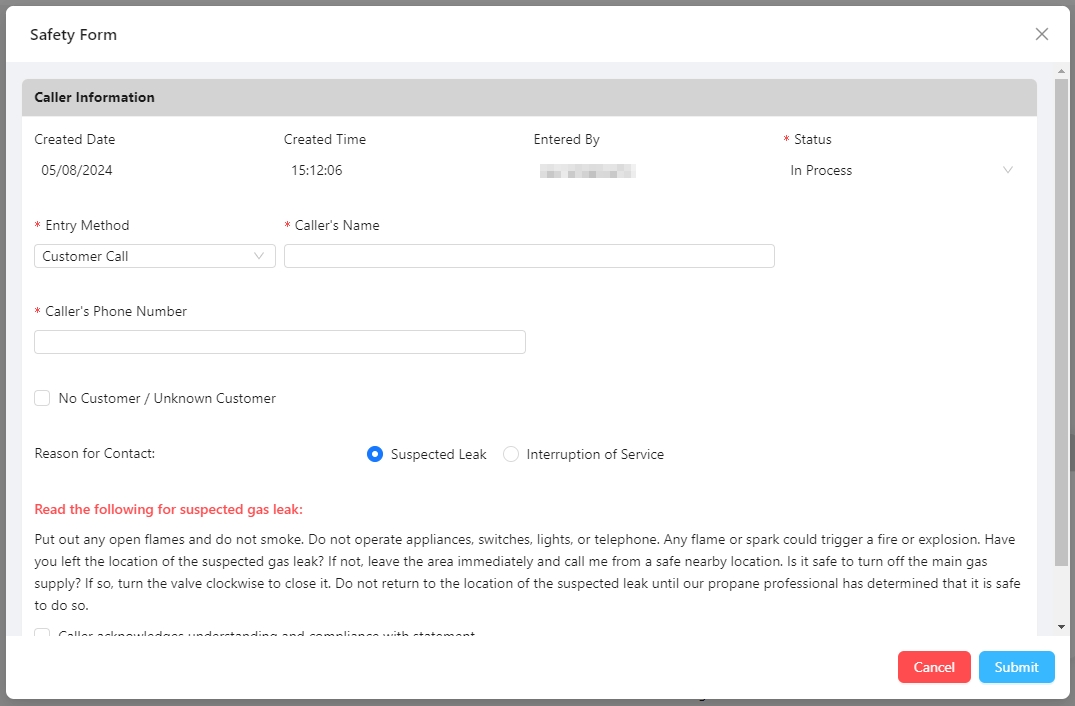
Filling in a New Safety Form
Safety forms can be started and completed in the same session or if needed, started and completed later if the caller needs to collect information or move to a safe location.
From an open form:
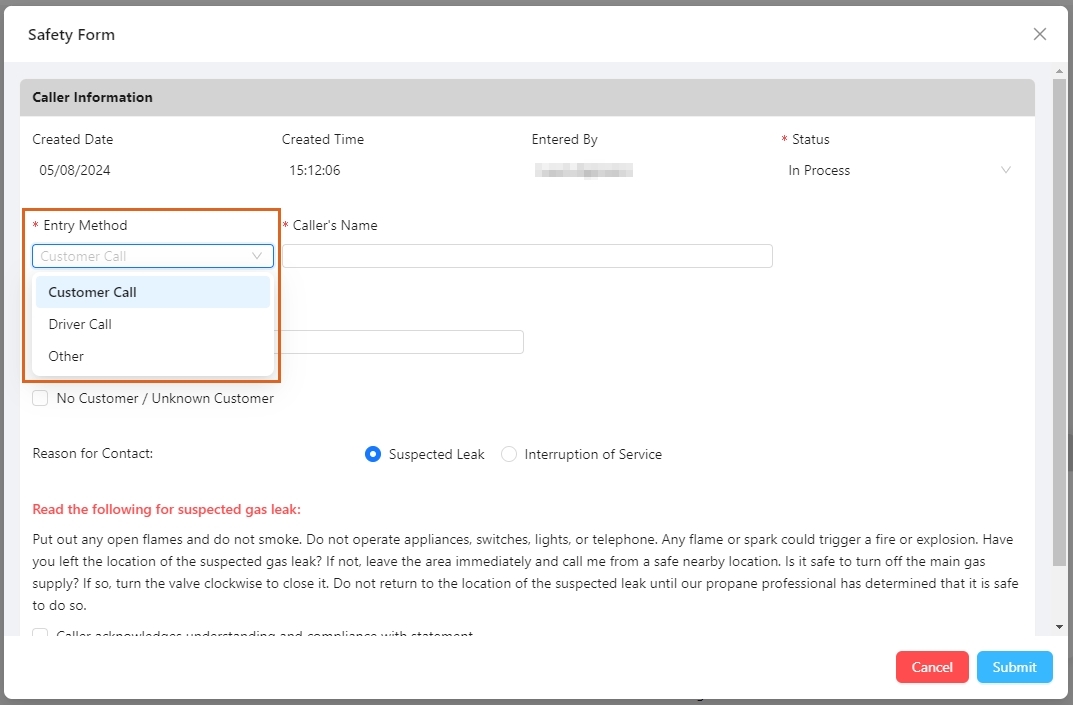
- Select the Entry Method. This is for reporting purposes and is a required field.
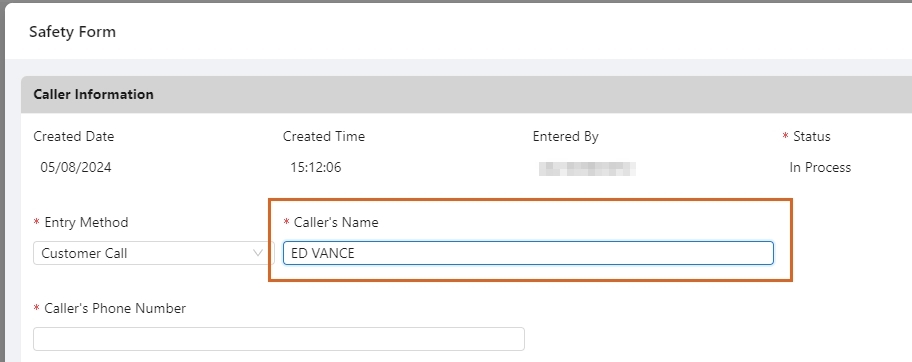
- Enter the Caller’s Name. This may be different than the name on the customer record. This field will hold 256 alpha characters and is a required field.
- Enter a good call back number in the Caller’s Phone Number field. This is a required field.
Note: If the caller is not an Energy Force customer or it is unknown if the caller is a customer, check the Box for No Customer / Unknown Customer. This will bypass the fields on the form for required Energy Force customer information.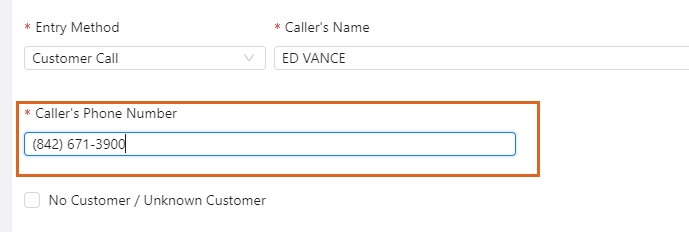
-
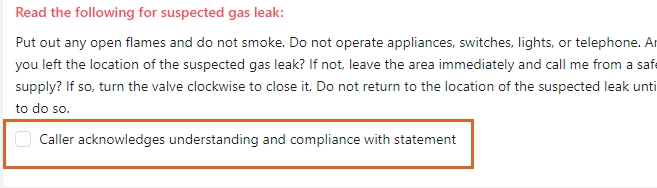
- Read the acknowledgement statement to the caller. When accepted by the caller, click the required Acknowledgement check box. This will display the questionnaire.
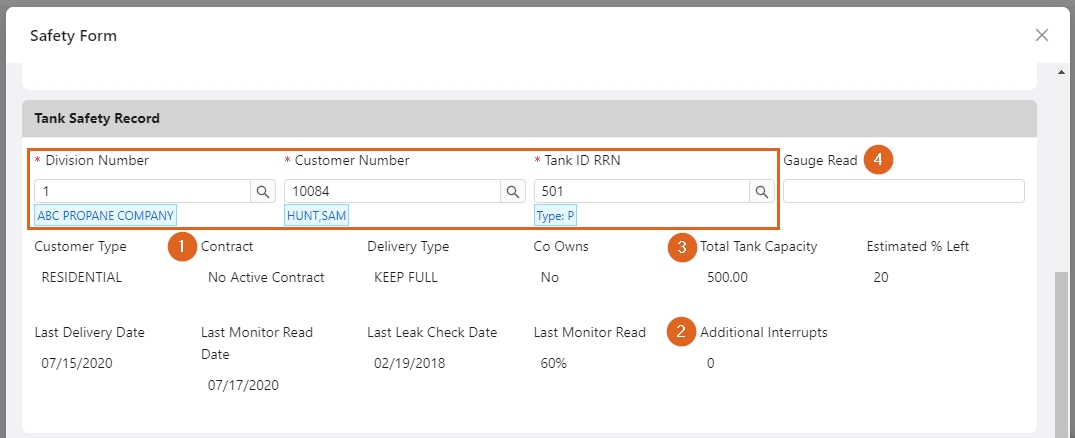
- Use the look up function to enter the Division Number, Customer Number, and Tank ID RRN. Data about this customer and tank will be displayed. Review this data if needed for actions that may need to be taken to resolve the safety issue for this call.
- Indicates if the customer has any contracts.
- Number of Interruption of Service forms the customer has reported.
- Current data from the tank record. This data will be preserved with the record at the time it is saved.
- Enter the current Gauge Read as reported by the customer.
- Complete the Questionnaire by asking the caller each question. All questions are required to save the form with a status of In Process.

- Add any information relevant to this call in the Additional Notes text box. This field will hold 500 alphanumeric characters.
- Select Submit.
- If all required fields have been entered, the form will close and the status will automatically be updated to In Process shown in the Safety Form Selection List. If one or more required fields are not populated an error message will display to populate those fields.
Note: If the Safety Form was opened using the quick access tool bar icon, the Safety Form Selection list will not be displayed and will be returned to the previous screen.


Modifying a Safety Form
Note: The correct permission is needed to modify a record.
To Modify a Safety Form
- Navigate to the Safety Form Selection list by selecting Customer on the left navigation panel then choose Safety Forms.
- Highlight the desired form with an In Process status.
- Select More to expand the menu and choose Edit Form.

- The form will display to make the necessary changes and select Submit when finished.

Completing a Safety Form
When all actions have been taken to address and resolve the reason for the Safety Form, the form can be marked with a status of Complete.
To Mark a Safety Form Complete.
- Using the left navigation panel, open the Safety Form Selection list by selecting Customer / Safety Forms.
- Highlight the desired form with an In Process status.
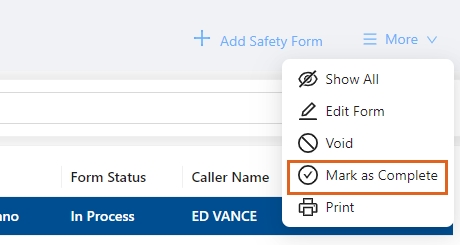
- Select More.
- Select Mark as Complete.
- The Safety Form Selection List will display again. Since the record is not in a pending status, it will not appear in the default filtered list.

Printing a Safety Form
After saved, a Safety Form can be printed.
Note: Forms cannot be downloaded.
Print from Safety Form Selection list
- From the Safety Form Selection list, select the desired form row. The row will highlight in blue.
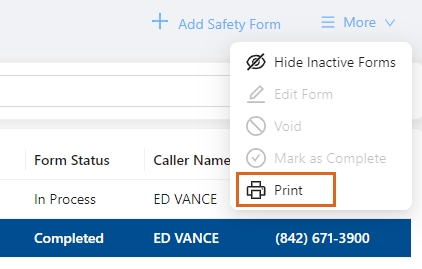
- Select More then choose Print.
 Note: A printer selection modal may appear depending on the computer settings. If needed, select the desired printer and choose Print.
 Note: A printer selection modal may appear depending on the computer settings. If needed, select the desired printer and choose Print.
Voiding a Safety Form
Safety Forms with a pending status of In Process and no longer needed can be voided. The Void process will change the status to Voided and remove the record from lists that show forms with a pending status but will be visible in a Show All list. The Void option is visible but is not active if the user does not have the necessary required permissions.
Void a Safety Form
- From the Safety Form Selection list, select the desired form row. The row will highlight in blue.
- Select More then choose Void.
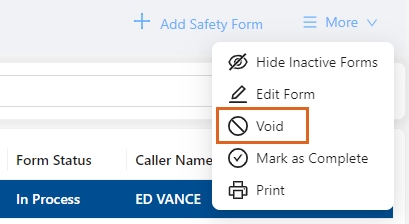
- Select the appropriate void reason and include an explanation for the void then select Submit.
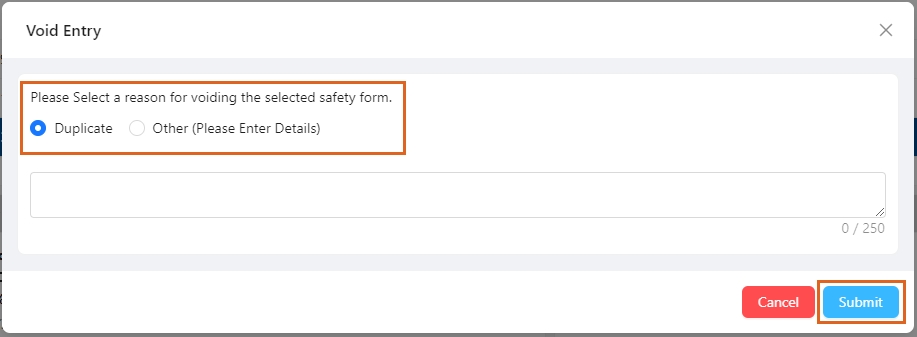
- The Safety Form status will update to Voided.


Viewing All Safety Forms
The Safety Form Selection list by default will show only pending forms, those with a status of In Process. Change the filter setting to Show All forms.
Changing the Selection List filter
- From the selection list, regardless of how it was opened, select More then Show All.
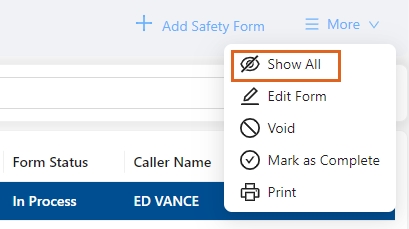
- All forms regardless of status are now visible. If accessed from the Customer Menu, all records in the system will appear. If accessed from a customer, then all records for that specific customer will appear.
- To return to the Pending view, select More then Hide Inactive Forms.

