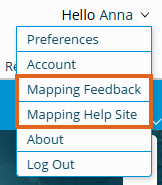
Under the User drop-down, the Mapping Feedback link as well as a link to Agvance SKY Mapping resources on the Help Center (Mapping Help Site) are available.
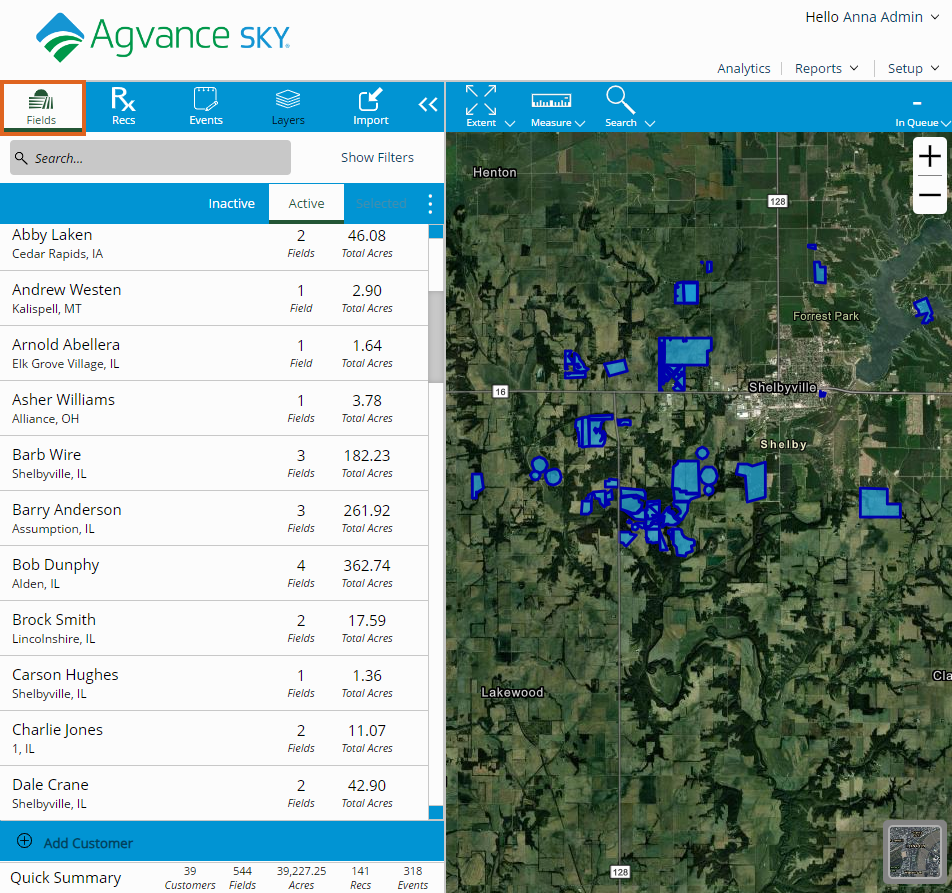
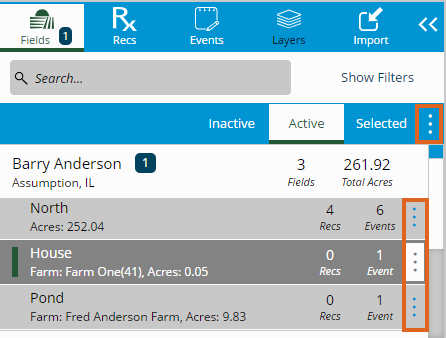
- Fields – This provides access to the Customer list which contains all Fields available to view. Selecting the Customer Name expands the list of Fields for that Customer. Choosing a Field Name selects the Field, indicated by a darker gray color and a green bar to the left of the name. Select either a single Field or multiple Fields at a time. The Customer Name shows an incremental number next to it indicating the number of Fields currently selected.
- Action – Each level in the Customer/Fields list has a Vertical Ellipsis button. This opens the View and Edit menu options available for the selected level.
 Note: Some of the action icons are only visible if they are hovered over with the cursor.
 - Hide/Show – Select this to hide the menu on the left side of the screen. The Mapping window can then be viewed in an extended view.

- Mapping Menu – Navigate, search, and take measurements within the Mapping area.
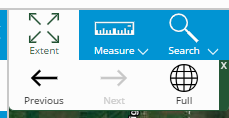
- Map Extent – Navigate the Mapping window easily by selecting Previous or Next to navigate back and forward through past views and Full to zoom out to view an area encompassing all available Fields.
- Measure Tool – The Measure tool can be used to measure any distance in the Mapping area. Distances can be measured using three different methods:
- Area – Measure by acre, square feet, or square yard.
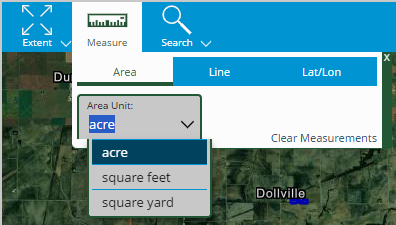
- Line – Measure by feet, inches, or yards.
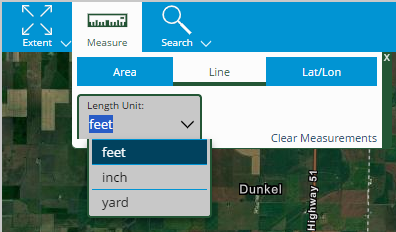
- Lat/Lon – The Coordinate Format can be changed to DD or DMS.

- Area – Measure by acre, square feet, or square yard.
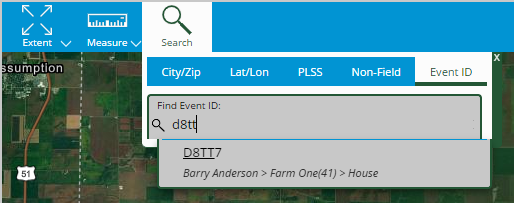
- Search – The Search tool can be used to zoom to any location on the map. Locations can be searched using five different methods:
- City/Zip Code – Enter any city or zip code and select the Search icon.

- Latitude/Longitude – Enter a specific latitude and longitude.

- PLSS – Public Land Survey System zooms to the appropriate location on the map when State, Township, Range, and Section are entered.
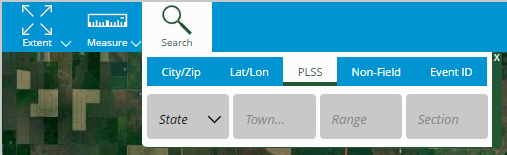
- Non-Field – Use the drop-down or begin typing to find a Non-Field Feature. Selecting an option here zooms to the appropriate location on the map.
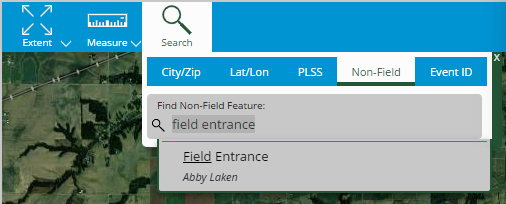
- Event ID – Use the drop-down or begin typing to find an Event ID. Selecting an option here zooms to the appropriate location on the map.
- City/Zip Code – Enter any city or zip code and select the Search icon.
- Map Extent – Navigate the Mapping window easily by selecting Previous or Next to navigate back and forward through past views and Full to zoom out to view an area encompassing all available Fields.
- Imagery Options – Selecting the Image icon in the lower right corner of the screen expands the Imagery Options menu.
 Note: Each of these thumbnails changes the type of imagery visible in the Mapping pane.

 Note: Some of the action icons are only visible if they are hovered over with the cursor.


 Note: Each of these thumbnails changes the type of imagery visible in the Mapping pane.