Restoring Agvance datasets is a process that must occur under a variety of situations, such as replacing an old server. The following steps should be followed carefully when restoring data.
- Move the Agvance database image into the folder in which it will be restored.
- From the desktop, go to Start / All Programs / Agvance / Agvance Utilities. This will open the following screen:

- From the SQL Server drop-down, choose the computer name of the server where the data exists. If at the server machine, choose (local).
- Enter sa as the Login name.
- Enter the sa Password. If this password is unknown, SSI staff is able to reset it with a query in order to gain access to Agvance Utilities.
- Go to Utilities / Restore Database. Choose the Folder button on the right side of the Database Directory field.
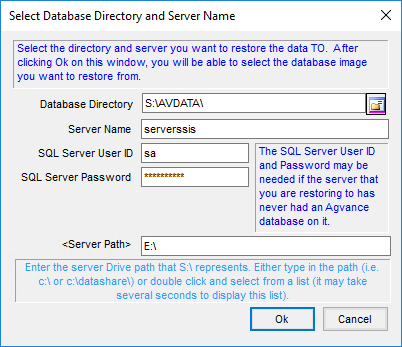 Note: The Server Name, SQL Server User ID, and SQL Server Password default into this screen and should not be changed.
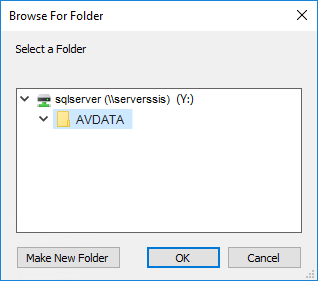
 - Locate and highlight the server drive letter and data folder where data should be restored then select OK.
- Double-click in the <Server Path> field on the Select Database Directory and Server Name screen and wait for the list to appear. This may take a few seconds. When the list appears, choose the drive where the data exists. If the data folder exists inside another folder, select that folder as well.
- When satisfied that the <Server Path> is correct, select OK.
-
If restoring a zipped image, select the Folder button to the right of the Restore from .zip file field. The folder being restored into will be opened. Open the LastImage folder and double-click the zipped image file. The name of the zipped image should match the name of the database from which it was created. For example, AVDATA.zip is an image of database AVDATA.
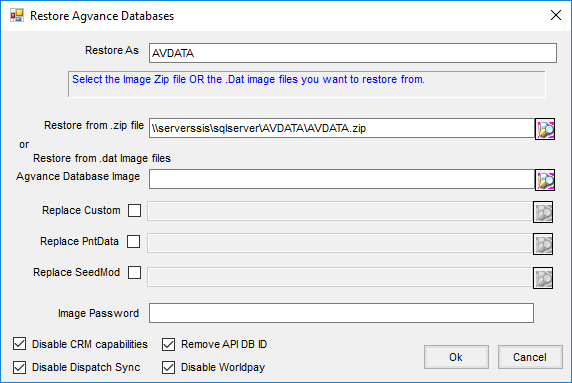
- If a zipped image was not created and a .dat file is being restored from instead, select the .dat image file from the LastImage folder. The name of the image should match the name of the database from which it was created. For example, AVDATA.dat is an image of database AVDATA.
- In most cases, Custom, PntData, or SeedMod are not replaced. If there is a custom database, contact SSI Support prior to moving data.
- If the image has a password, enter it in the Image Password field. Remember, SSI does not track these passwords and cannot help if they are lost.
- When satisfied with this screen, select OK to allow Agvance to restore the dataset. When the process has finished, a message will display indicating the database has been restored.
- If data was moved to a new server, all the datasets moved must be restored before they can be accessed.
- If a message displays asking to schedule images to be made at a certain time every day, select No. Scheduled images can be set up later if needed. Contact SSI Support to discuss scheduling images.

 Note: The Server Name, SQL Server User ID, and SQL Server Password default into this screen and should not be changed.

