Outstanding Balance payments give the ability to pay the Statement balance, pay off the entire account balance, apply the payment to specific Invoices, or auto apply a specific amount to Invoices.
- Initiate an Outstanding Balance payment in one of two ways:
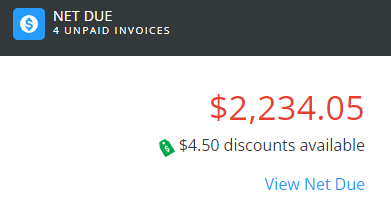
- Choose View Net Due on the Net Due card on the Overview page.
- Select Make a Payment at the top of the Overview or Payments screen, choose Outstanding Balance, and select Continue.

- Choose View Net Due on the Net Due card on the Overview page.
- Invoices Due on or Before a selected date display with the option to view or download a PDF. Invoices Due After today's date display in the middle of the page.

- Balances Due By Month can be reviewed as a bar graph or pie chart for the last six months.

- Review the Regular Balance, Unapplied Credit, Net Due, and Scheduled Payments amounts on the right. Choose Pay Statement Balance, Pay Off Balance, Select Invoices, or Enter Amount to determine the amount of the payment then choose Make Payment.


Pay Statement Balance
Pay the total amount owed at the end of the billing cycle.
One-Time Payment
Select Make Payment, then see the Completing the Payment section below to finish the process.
Recurring Payments
- To set up Recurring Payments, select Setup Recurring Payment. Delays may occur if recurring payments are scheduled outside of business hours. Schedule in advance to ensure timely payment.
 Enter details for the Recurring Payment.
- Enter a brief Description for this recurring payment. The Payment Amount defaults to the Invoice Due and cannot be modified.
- Choose a Start Date by selecting the Calendar icon, then choose the Date of Each Month the payment should be made. The Payment Date defaults once this is selected.
- The End Date is optional and, if selected, the Last Payment Date will be displayed.
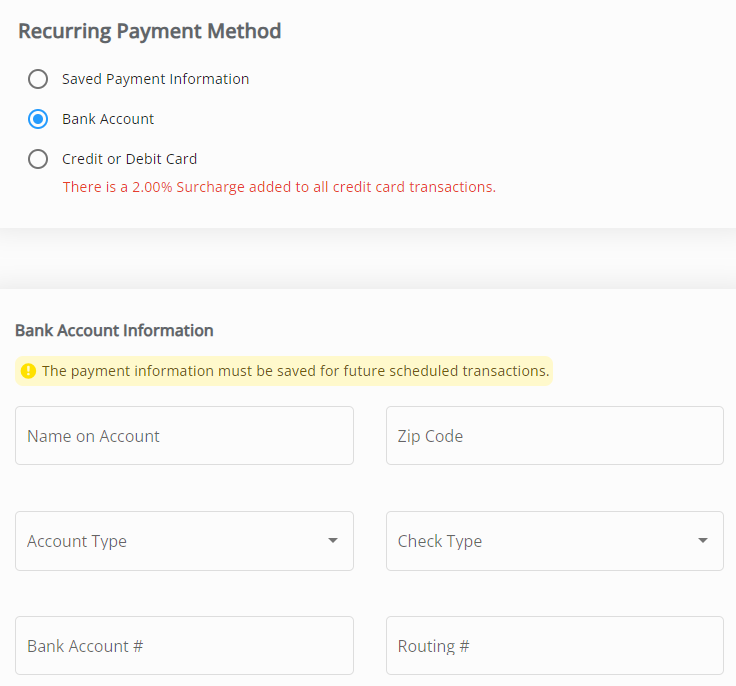
- For the Recurring Payment Method, choose to use Saved Payment Information or optionally choose Bank Account or Credit or Debit Card to enter new information. If entering new payment information, it will have to be saved for future scheduled transactions.
- Select Review Recurring Payment and make sure everything is correct. Choose Edit to make any adjustments. Verify the Email Address is accurate, and optionally enter any Comments. Be sure to check both boxes, review the Recurring Payment Terms, then select Submit.
Note: The second checkbox is only for ACH payments.
 Enter details for the Recurring Payment.


Manage Recurring Payment
Once Recurring Payments are set up, the link below the Pay Statement Balance option changes to Manage Recurring Payment.

Selecting Manage Recurring Payment opens a window to Delete the Recurring Payment. Selecting Dismiss closes the window and keeps the Recurring Payment active.

On the Overview page, the Net Due card will show Recurring payment enabled.

Pay Off Balance
Select Make Payment, then see the Completing the Payment section below to finish the process.
Select Invoices
- Select Make Payment. Unpaid Invoices Due on or Before the date indicated are listed. Changing this date updates the list accordingly.
Note: Discount amounts will display when applicable. - Choose Select All or check individual Invoices. The number of Invoices along with the Payment total is displayed.

- Choose Pay Selected Invoices.
- Finish the Payment by following the steps in the Completing the Payment section below.

Enter Amount
Enter a dollar amount that will automatically apply to Invoices.
- Select Make Payment.
- Enter the Amount to be paid towards the account balance. The Regular Balance and any Unapplied Credit on the account is shown on the right to review. A confirmation of the Payment Total is shown below the Amount field.

- Select Next.
- Finish the Payment by following the steps in the Completing the Payment section below.

Completing the Payment
- On the Payment Information page, review or add payment information. Select Review Payment.
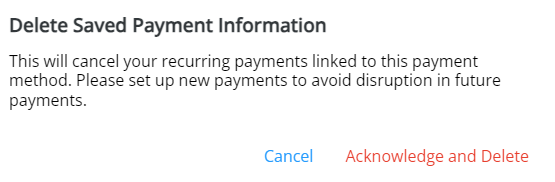
Note: If the Saved Payment Information needs updated, Delete that information then re-enter.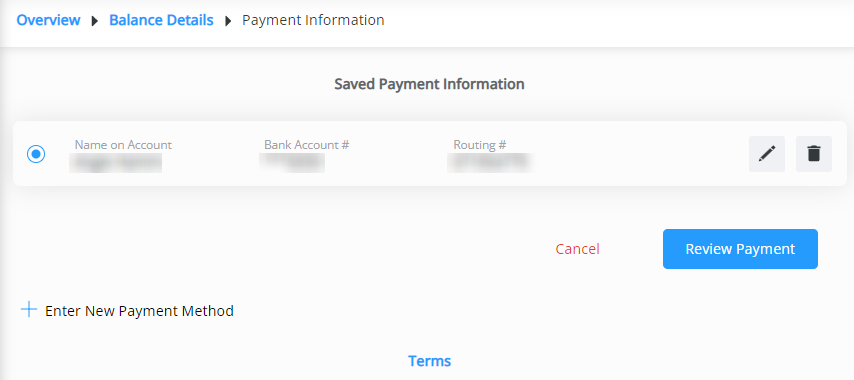 Note: To remove a saved payment method, the Delete icon can be selected. However, if there are recurring payments set to use that method, they will be removed and message will display to Cancel or Acknowledge and Delete.
- Review Selected Invoices (if applicable) and Account Information.
- Optionally add any Comments on Payment, and verify Contact Information.
- The Payment Date defaults to today, but can be changed if needed.
Note: Same-day payments cannot be cancelled after submitting.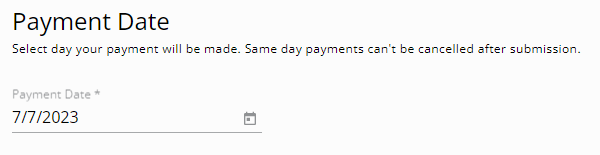
- Review the Terms. If paying via ACH, check the box agreeing to allow the ACH transaction to be processed. If using a credit card and a surcharge is being applied, check the I acknowledge (%) surcharge checkbox.
- Once all information has been reviewed and is accurate, select Submit Payment. Avoid selecting the Back button or refreshing the browser while the payment is processed.

 Note: To remove a saved payment method, the Delete icon can be selected. However, if there are recurring payments set to use that method, they will be removed and message will display to Cancel or Acknowledge and Delete.


