SQL Express 2022 is not compatible with Windows 7, Windows Server 2008R2, or Windows Server 2012. It is only compatible with Windows 10, Windows Server 2016, and later operating systems.
Note: The installation and setup process is lengthy and quite detailed. If assistance is needed at any time during the process, please contact a member of the IS Support team.
- Download SQL Express 2022 by going to https://www.microsoft.com/en-us/download/details.aspx?id=104781. Select Download.
Note: To download the Standard edition, the product must be licensed from Microsoft.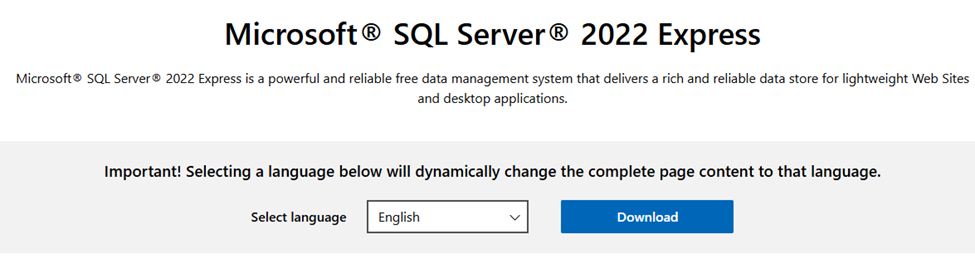
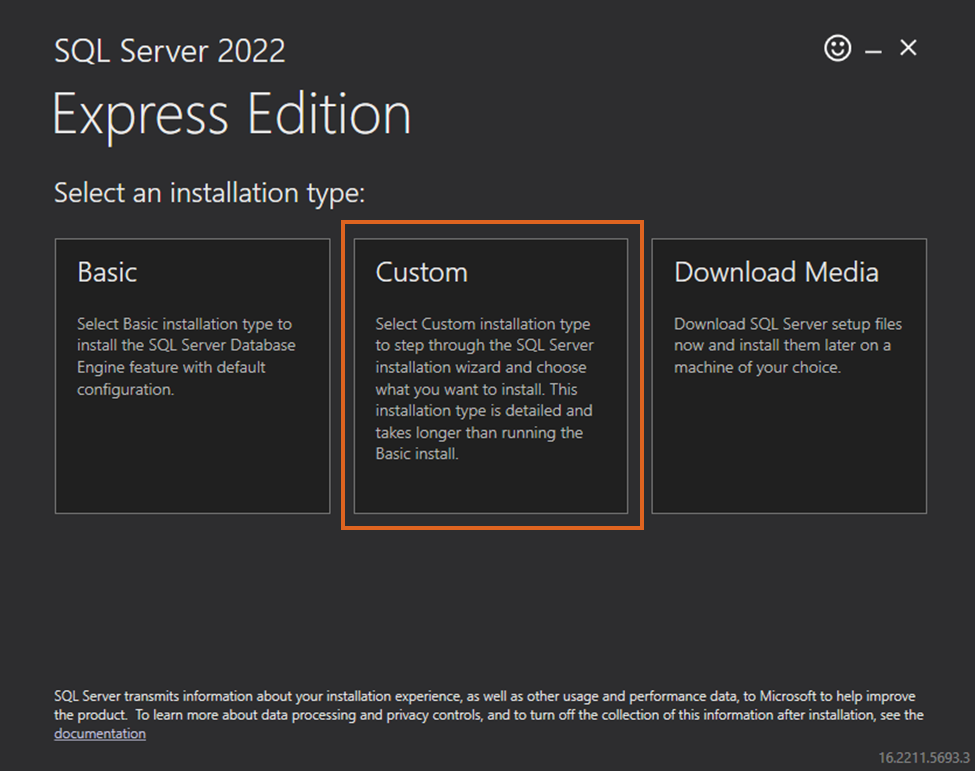
- Select Custom.
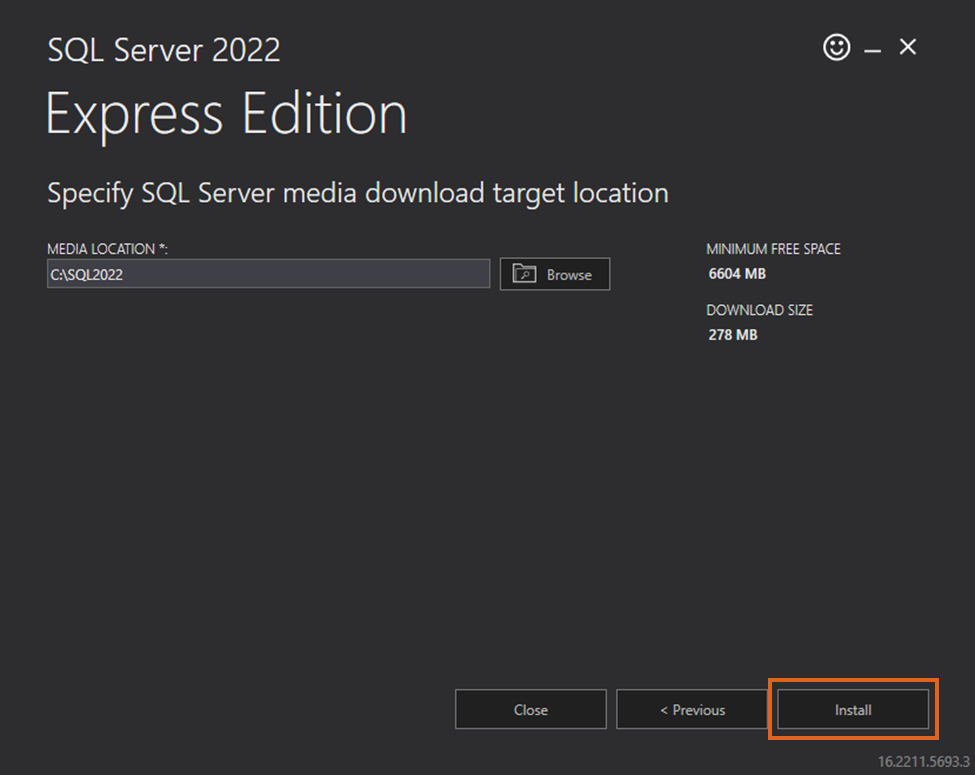
- After initial setup, the following screen displays. Select Install.
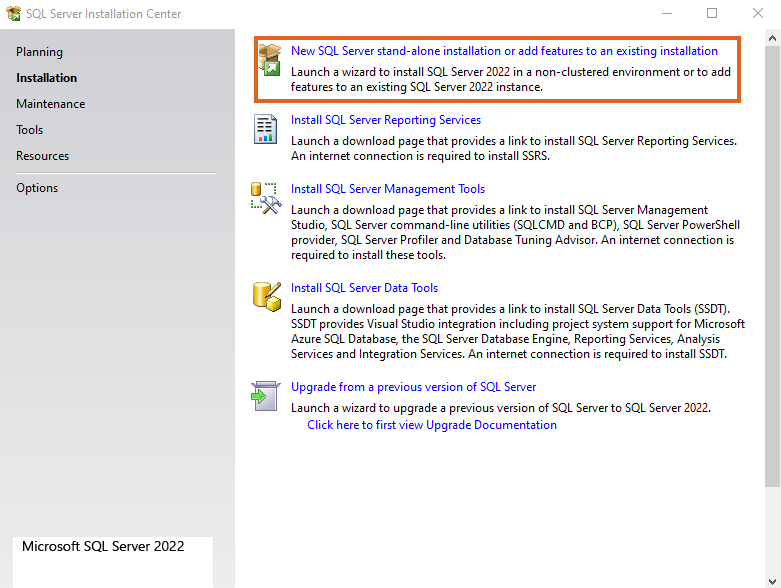
- Select the New SQL Server stand-alone installation option.
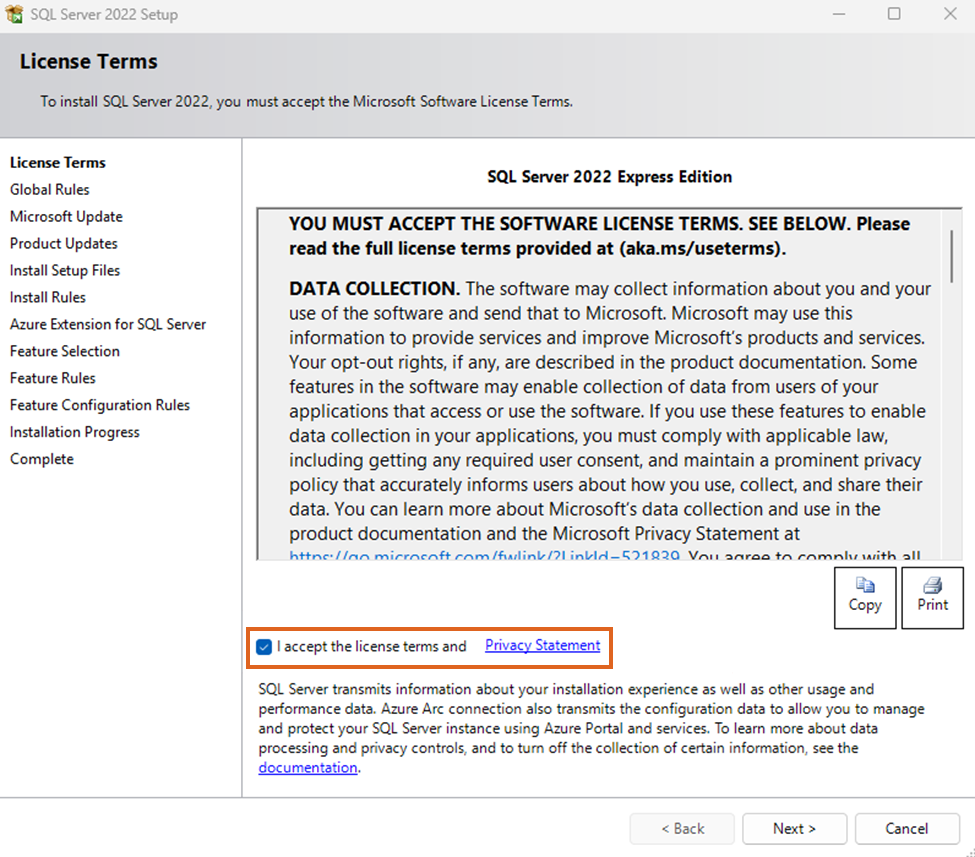
- Check the box to accept the license terms and select Next.
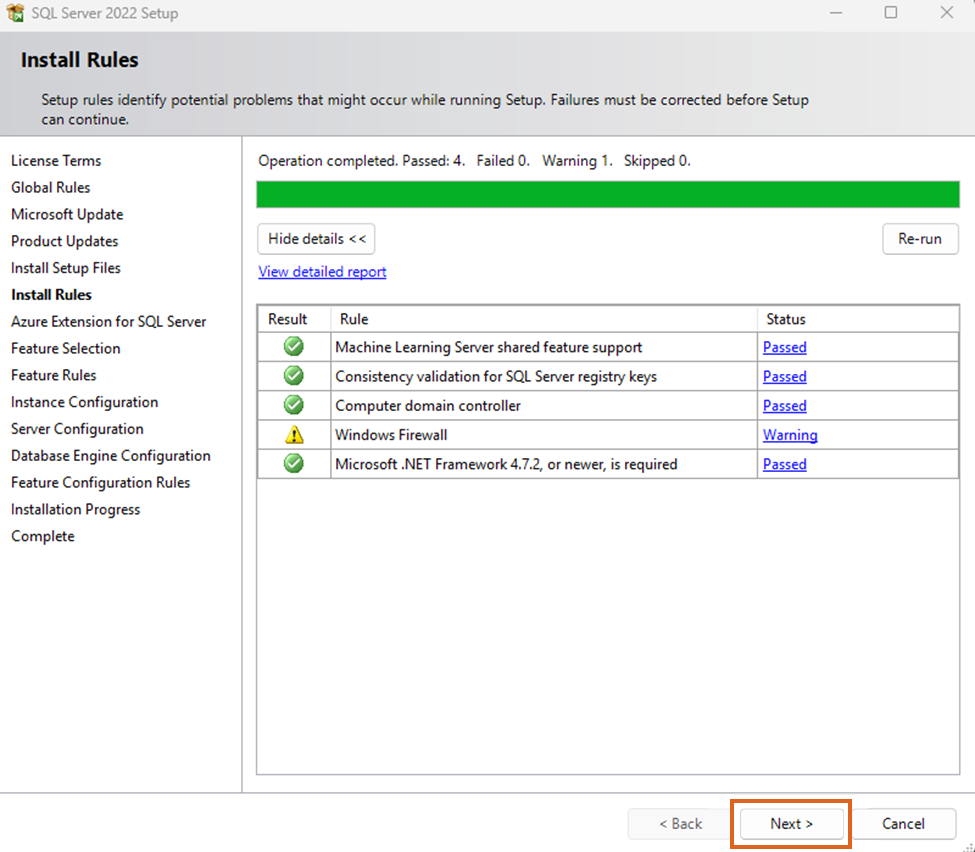
- Ignore the Windows Firewall warning as those rules will be entered in later. Select Next.
- Uncheck Azure Extension for SQL Server.

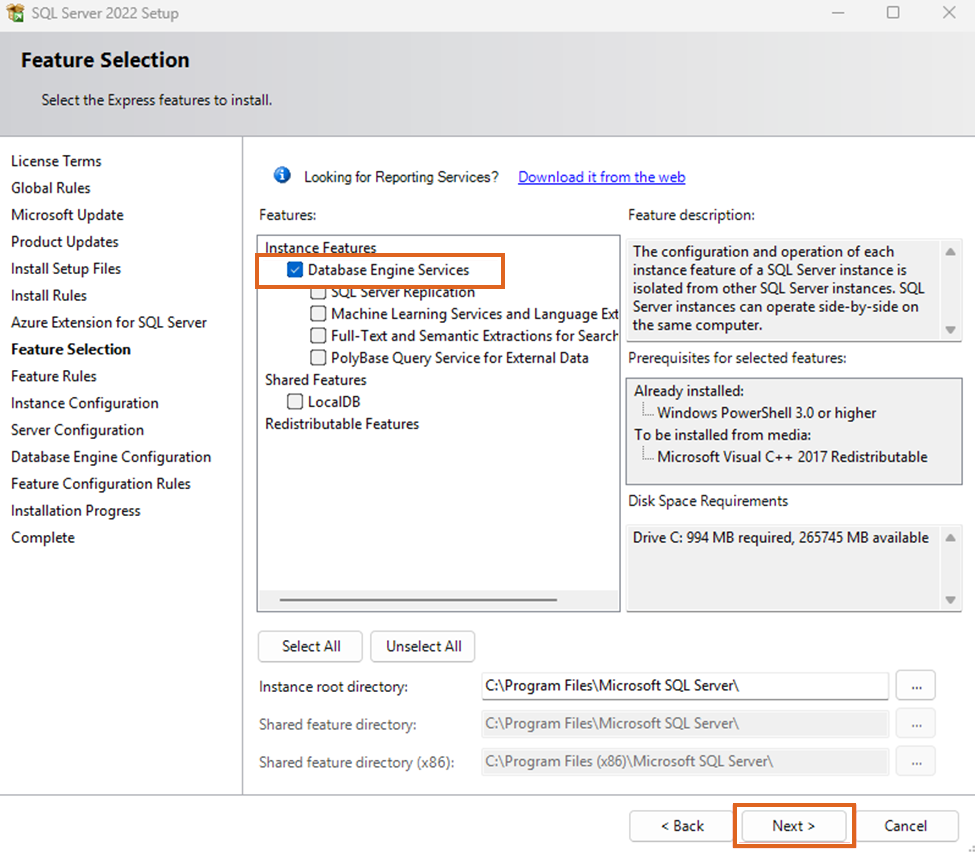
- Select the Database Engine Services option and then select Next.
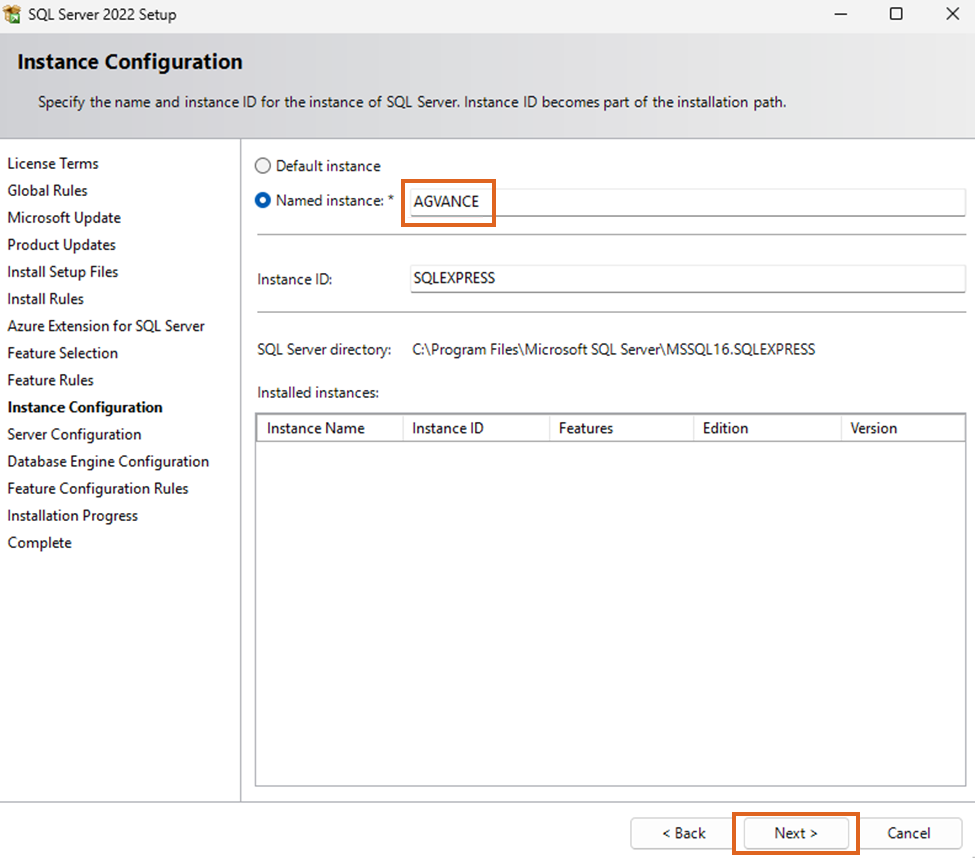
- On the Instance Configuration window, choose the Named instance option and enter a name for the SQL instance. In this example, it is Agvance. Select Next.
- On the Server Configuration window, make sure the Startup Type for the SQL Server Browser service is set to Automatic and select Next.
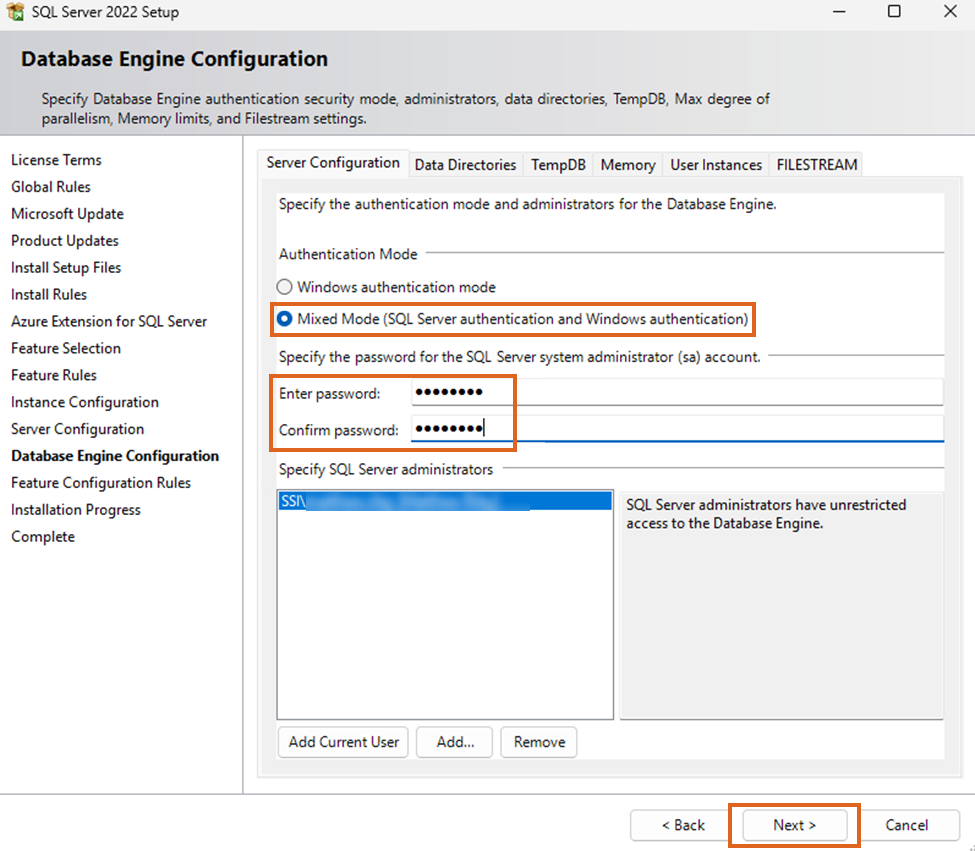
- Choose the Mixed Mode (SQL Server authentication and Windows authentication) option and create a password. Select Next.
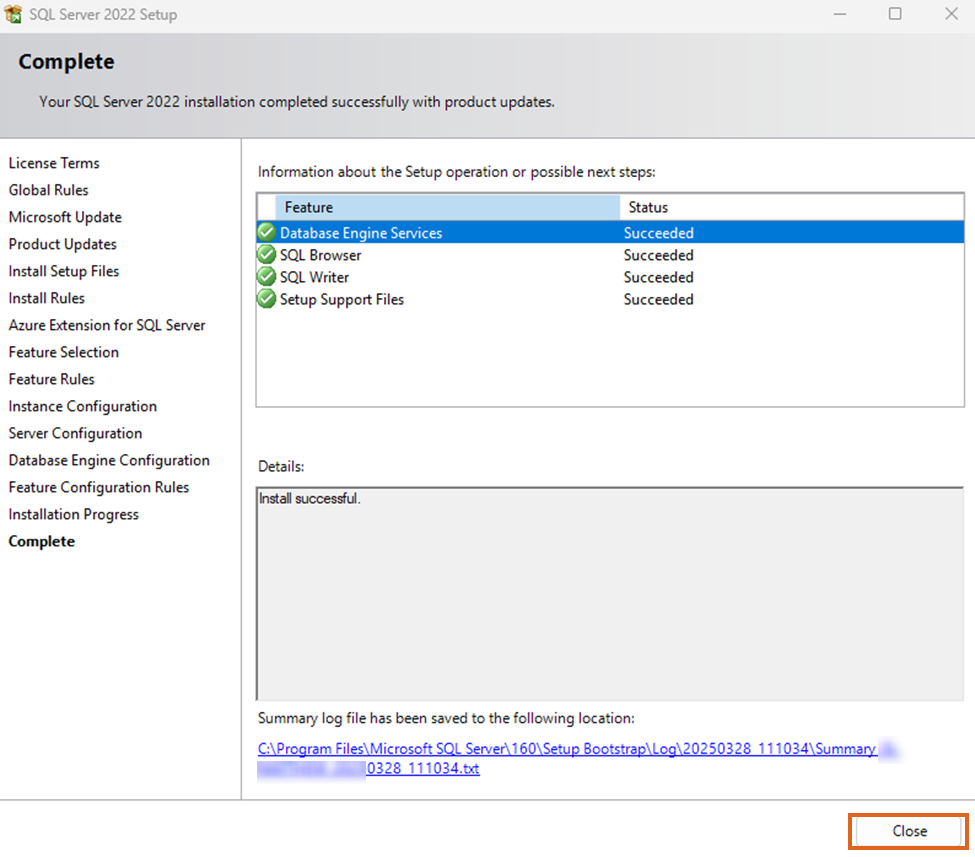
- Select the Install button and allow the install to finish. Select Close.


Installing Management Studio
- Go to https://docs.microsoft.com/en-us/sql/ssms/download-sql-server-management-studio-ssms, and download SQL Server Management Studio.

- After the download completes, run the file and then choose Install.

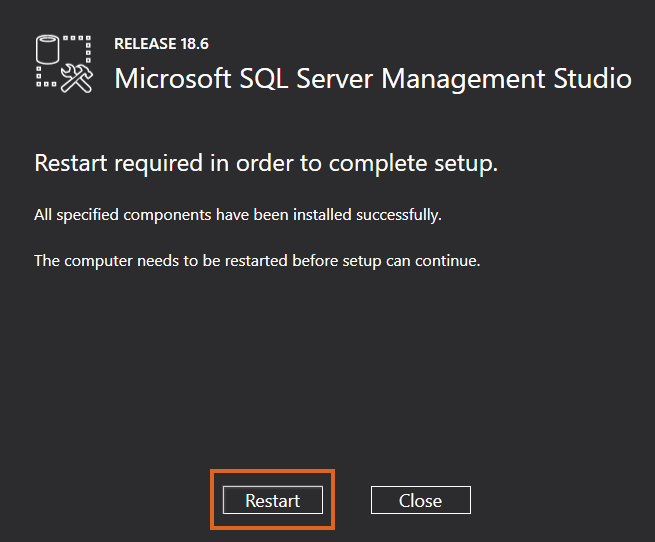
- As the installation progresses, there may be a prompt to reboot the machine to complete the installation.


Configuring SQL Express 2022
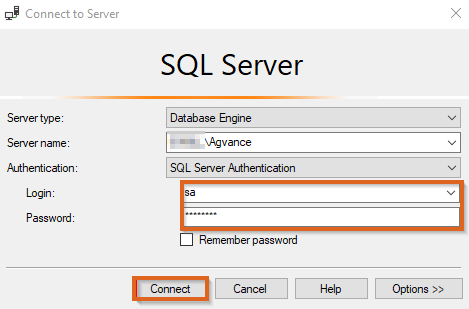
- Open SQL Server Management Studio and log in via SQL Server Authentication using the sa login. Enter the password created on Step 10 of the Installing SQL Express 2022 section.
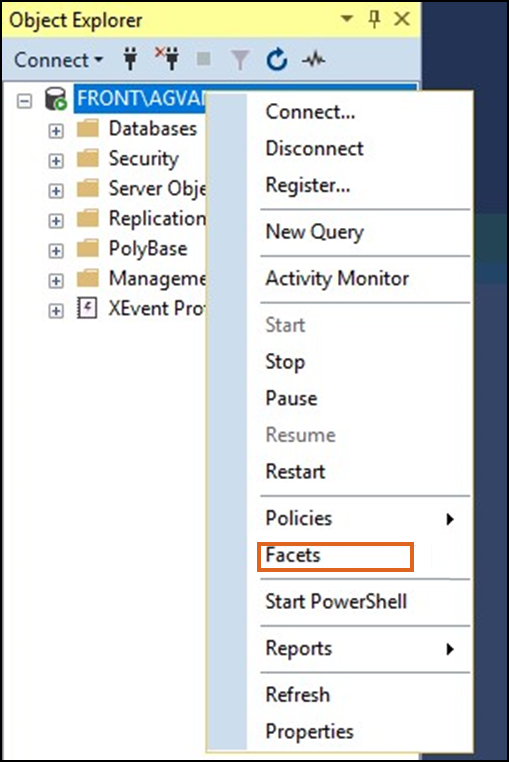
- After logging in, right-click on the SQL Server instance name, and select Facets.
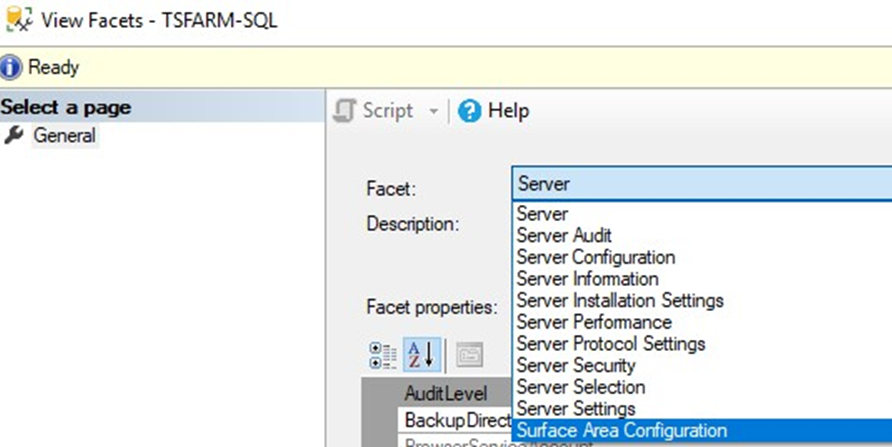
- From the Facet drop-down list, choose Surface Area Configuration.
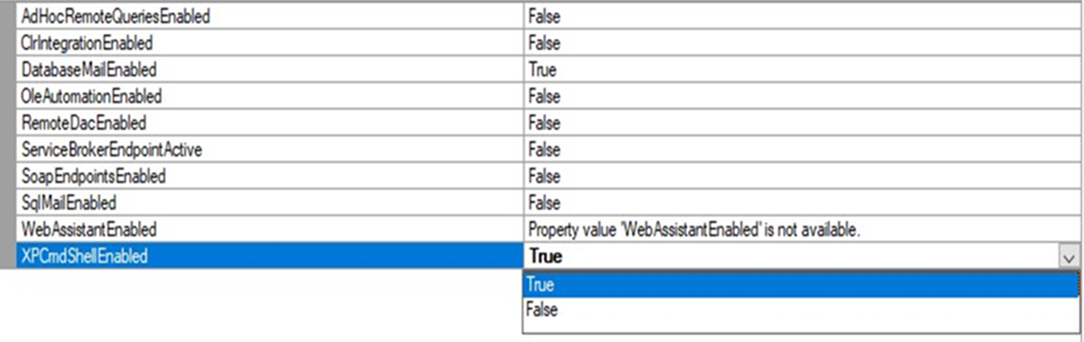
- Set the XPCmdShellEnabled option to True and exit SQL Server Management Studio.
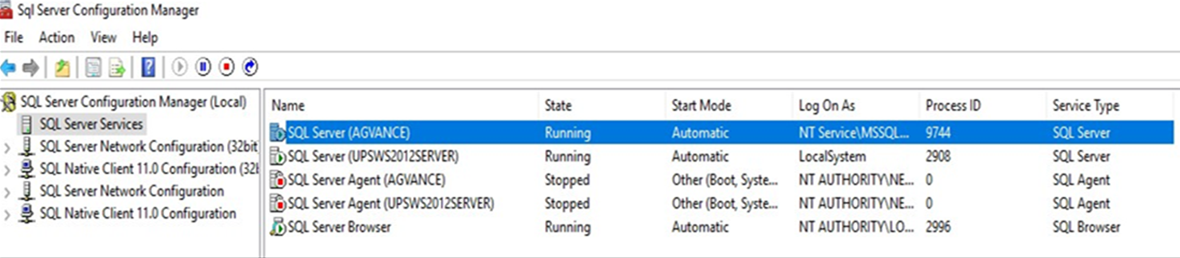
- Open SQL Server Configuration Manager by navigating to C:\Windows\SysWOW64\SQLServerManager15.msc.
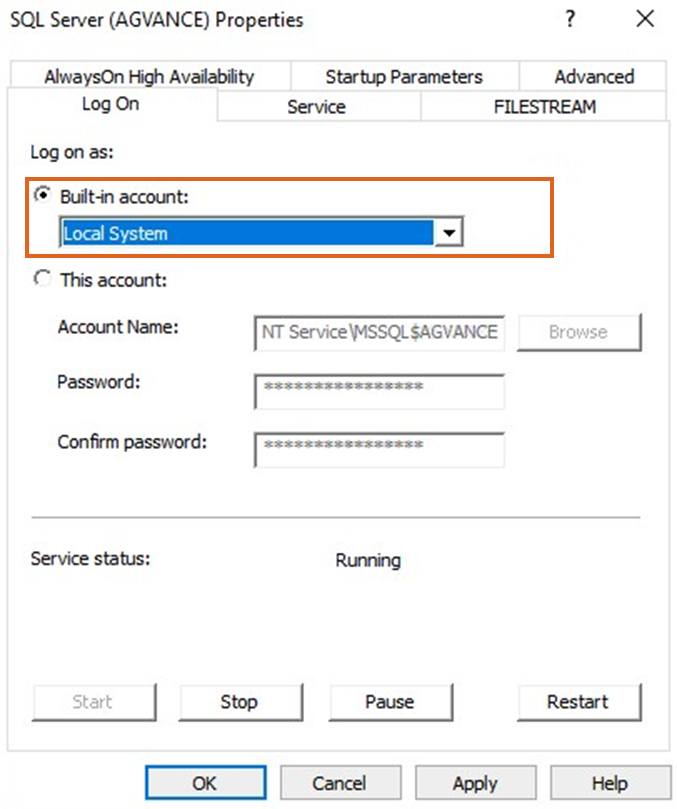
- In the left panel, select SQL Server Services. In the right panel, right-click the installed SQL Server instance, and choose Properties.
- On the Log On tab, select the Built-in account option, and choose Local System from the drop-down list. Select Apply. When the prompt to restart the service appears, select OK.
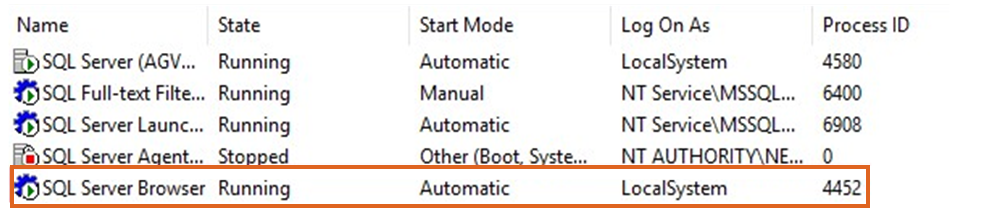
- In the right panel of the SQL Configuration Manager window, right-click SQL Server Browser, and choose Properties.
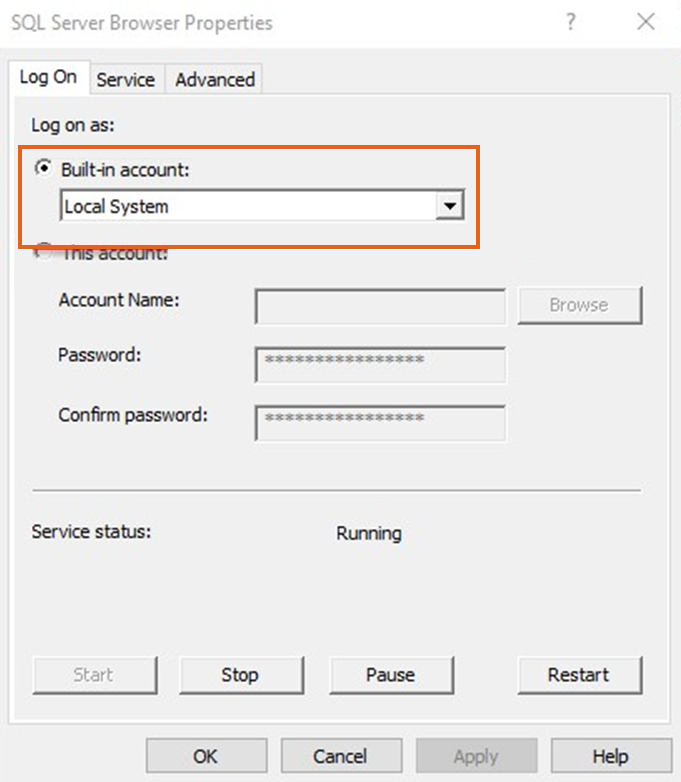
- Similar to how the SQL Service is set up, select the Built-in account option on the Log On tab, and choose Local System from the drop-down menu. Click Apply and select OK when prompted.
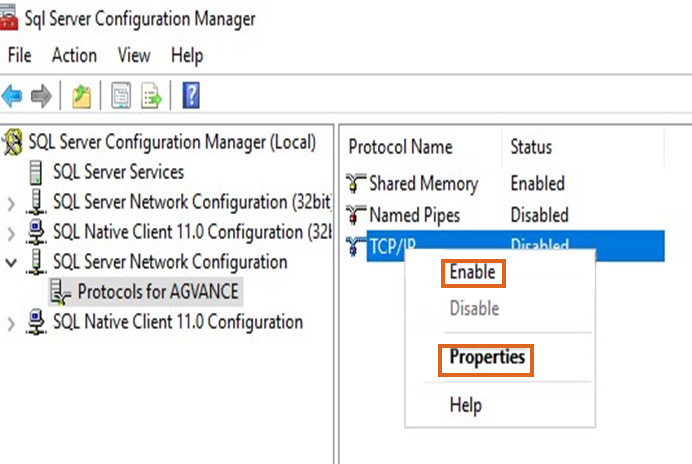
- Select the SQL Server Network Configuration in the left panel of the SQL Server Configuration Manager window.
- In the left panel, double-click the option for the installed SQL instance.
- Right-click the TCP/IP option, and select Enable. When the prompt to restart the instance appears, select OK. Right-click TCP/IP again, and select Properties.
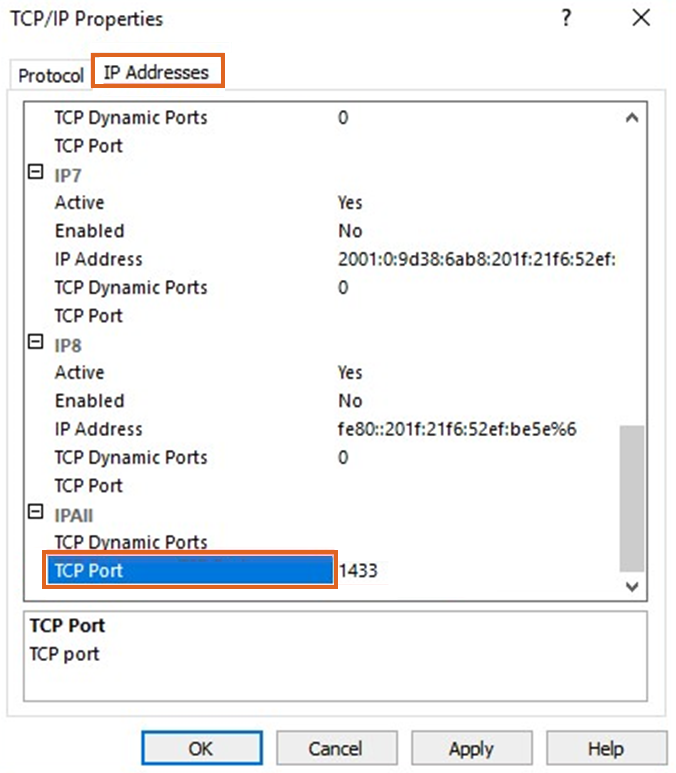
- Go to the IP Addresses tab and scroll to the bottom of the window. Remove any TCP Dynamic Ports that may be listed (this value will most likely be 0), and then enter a port number for the TCP Port option (choose any port number desired). Write this port number down, as it is needed later when creating a firewall rule. Select Apply and then OK when the warning to restart the SQL Service appears.
- Return to the SQL Server Services option in the left panel of the SQL Server Configuration Manager window. Restart both the SQL Server Service (with the installed instance name) and the SQL Server Browser. This can be done by right-clicking each service and choosing Restart.
- Close the SQL Server Configuration Manager and open the machine’s Windows Firewall with Advanced Security.
- On the desktop, in the search box of the Taskbar, type in “firewall”. Select Windows Firewall with Advanced Security.

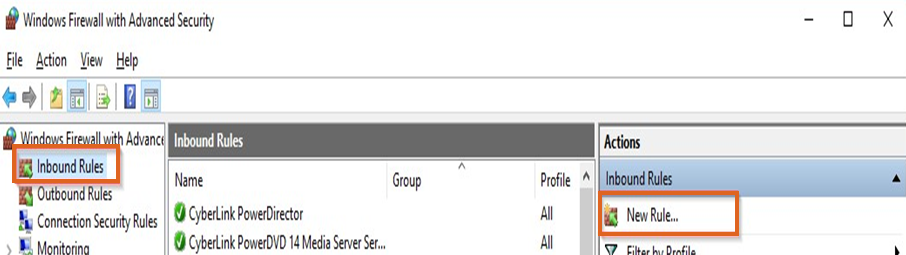
- Select Inbound Rules in the left panel and then select New Rule in the right-most panel.
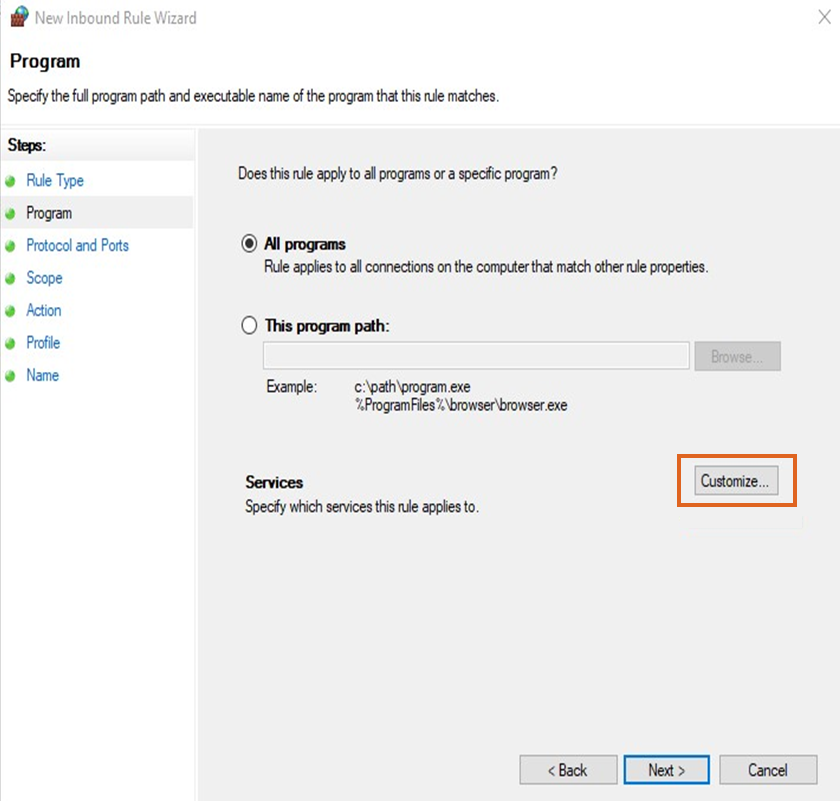
- In the New Inbound Rule Wizard choose Custom and then select Next.

- Select Customize.
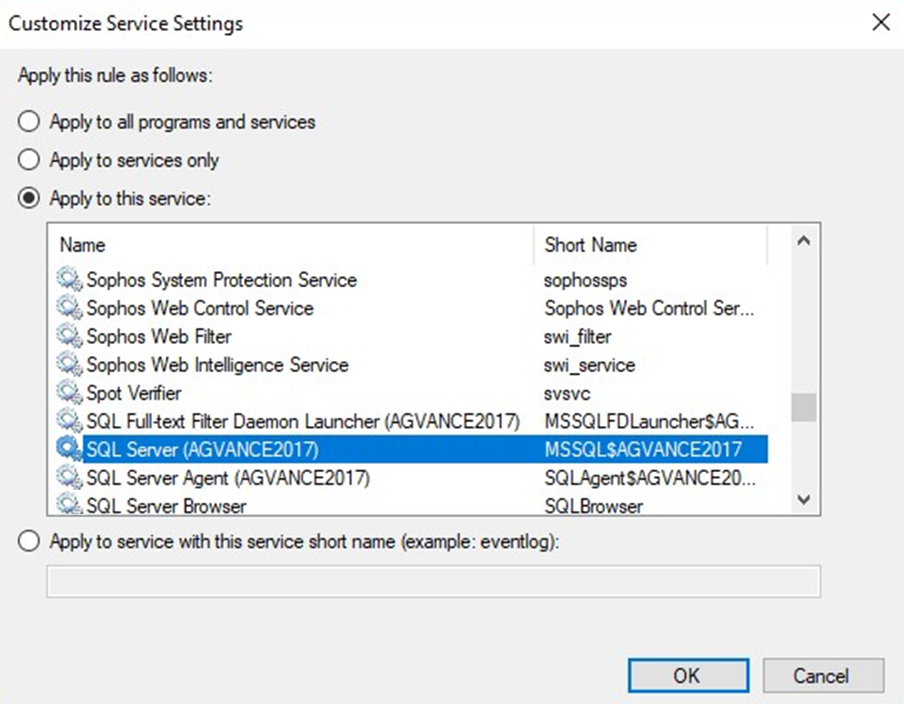
- Choose Apply to this service and scroll down the list of services to select the SQL Server. Choose OK.
- Select Next.
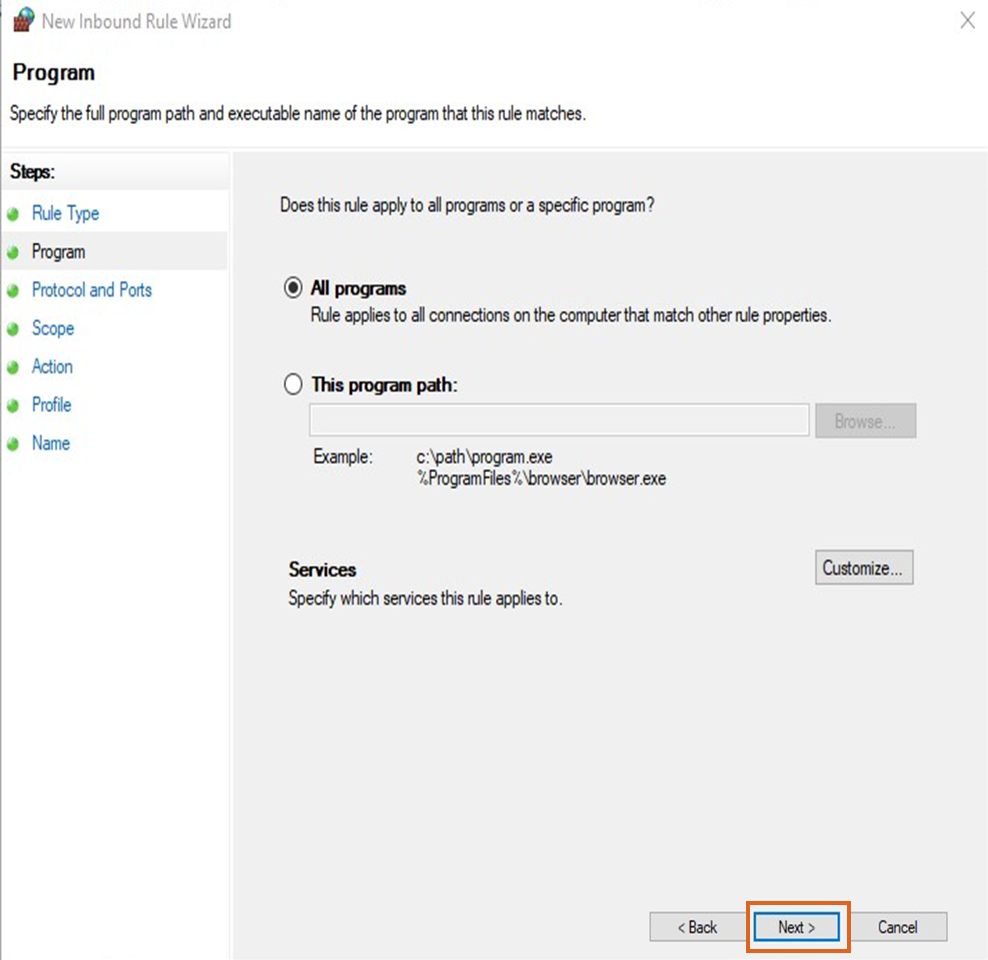
- Select Next.
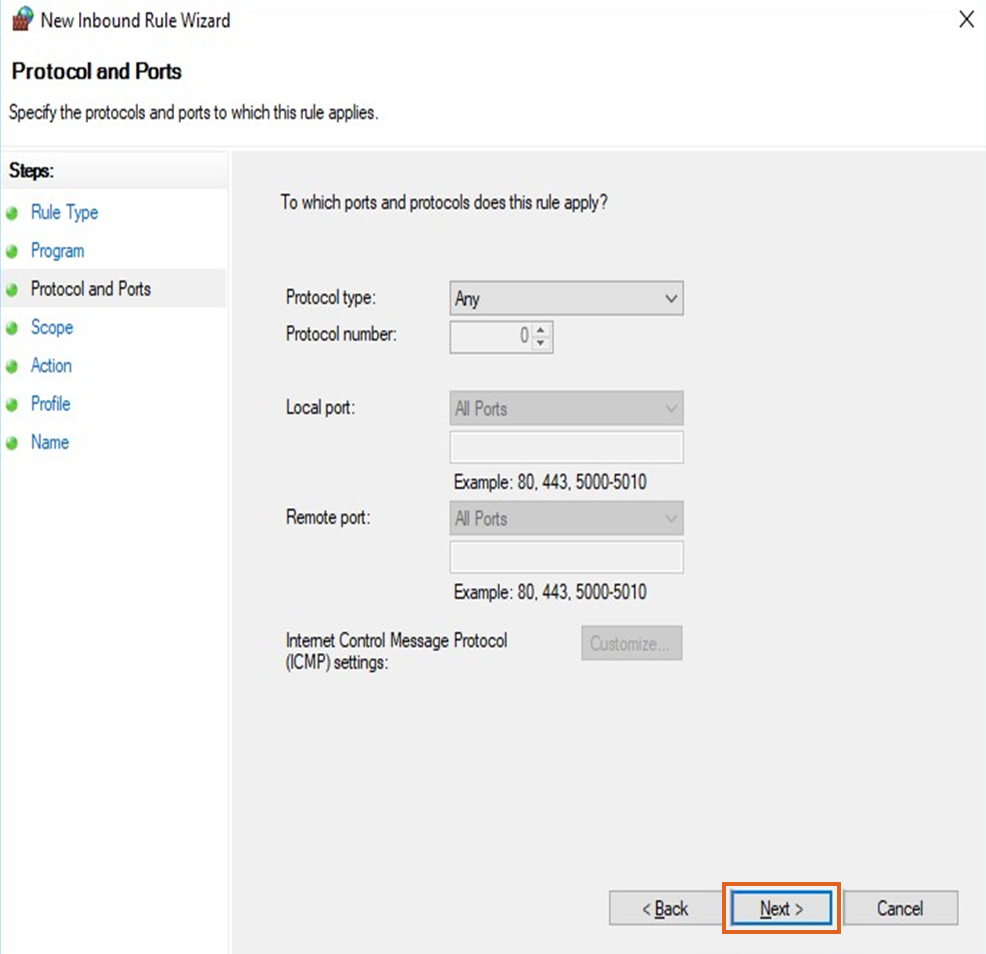
- Select Next again.

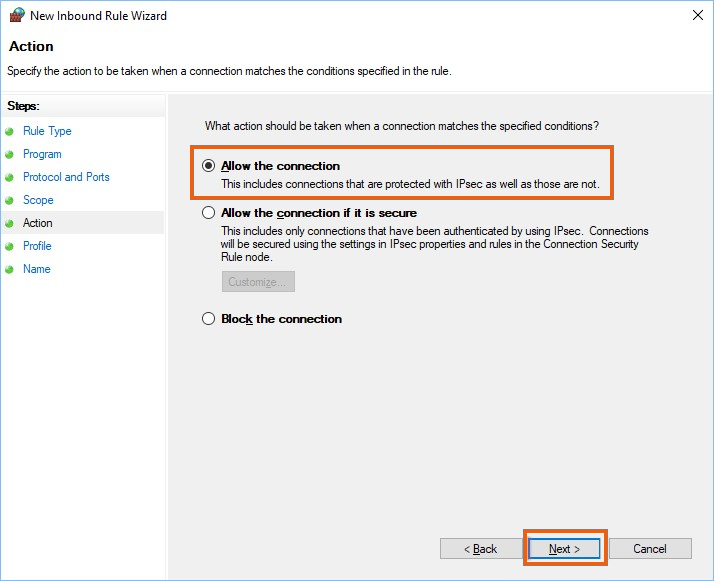
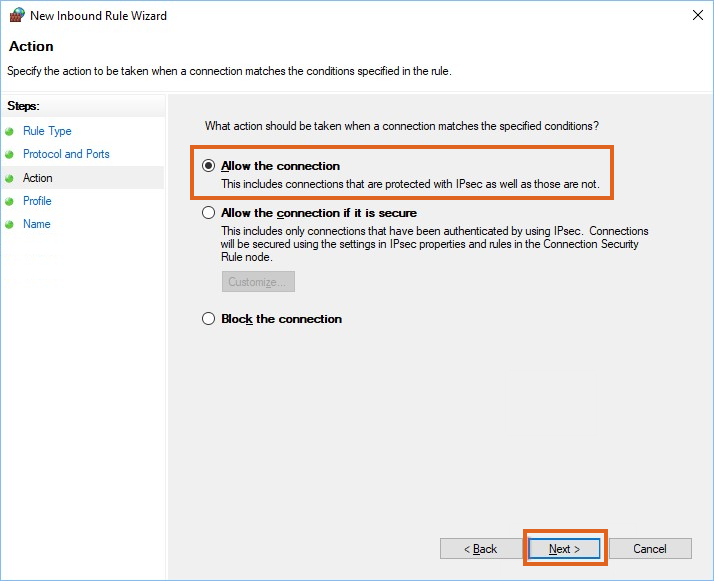
- Select Allow the connection then choose Next.
- Select Next.

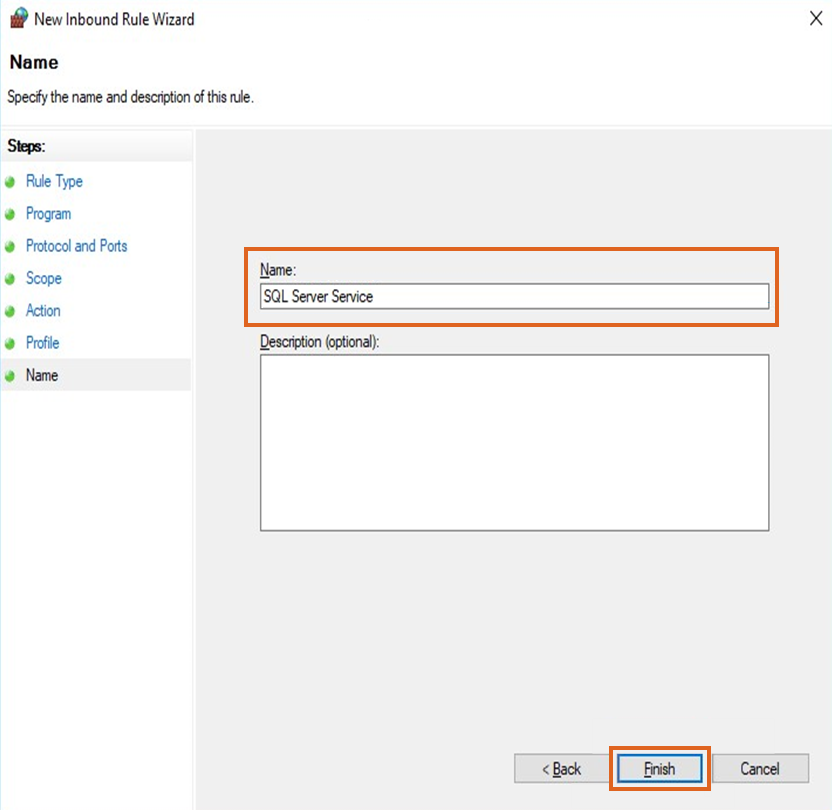
- Name the rule. For example, the Name below is SQL Server Service. Select Finish.
- Repeat Steps 17-26 of this section, but this time, create the rule for the SQL Server Browser Service. Choose the SQL Server Browser in Step 20.
- Choose to create another rule and select the Port option. Select Next.

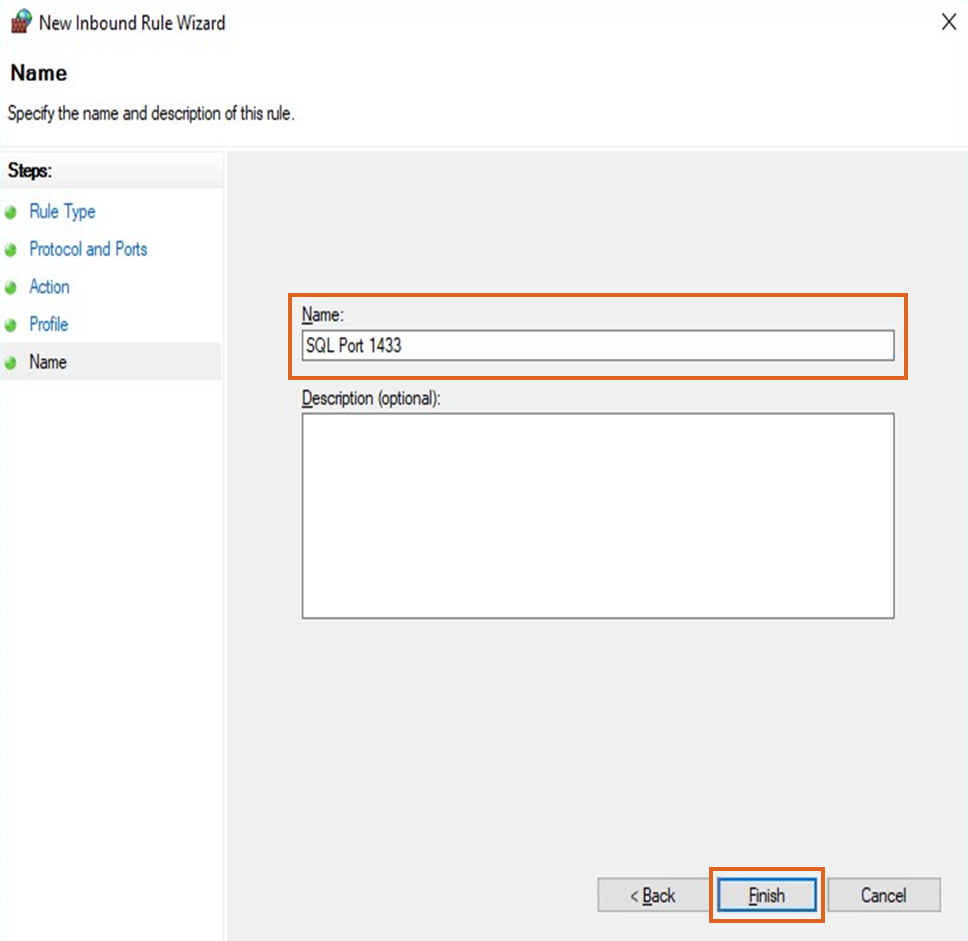
- Enter the port number configured for the SQL instance (1433 in this example). Select Next.

- Select the Allow the connection option and select Next.
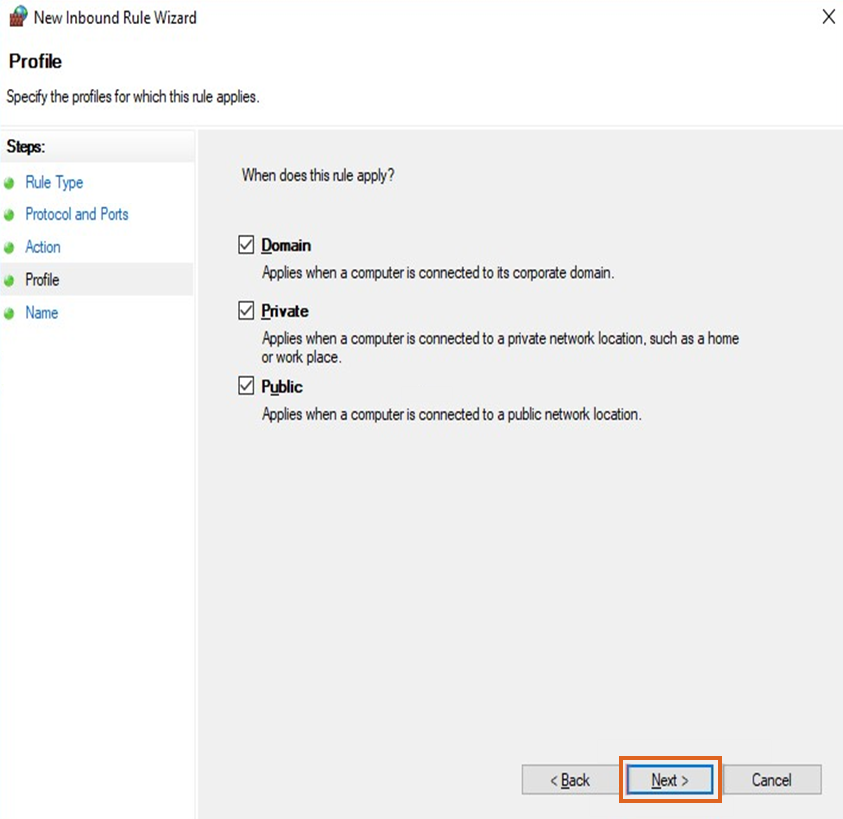
- Select Next.
- Enter a Name for the SQL port rule and select Finish.


SQL Express 2022 should now be installed and configured.
