The SSI Hardware Support team is available to assist with the installation and configuration of Agvance and SQL Server on your system. SSI staff can also review the current hardware specification document with you to ensure optimal performance of Agvance is achieved. The current hardware specification document is posted on the customer website or can be faxed or emailed upon request. For first time Agvance customers, the website can be accessed through the link in the Welcome to Agvance email.
There are three steps to the installation process. If choosing to install and configure SQL Server and Agvance, the installation steps should be performed in this order:
Install SQL Server
The data server must have Microsoft’s SQL Server™ running on it for Agvance to operate after installation. SQL Server controls access to data providing a secure and stable environment in which to operate the program. More information about SQL Server options is available at our Agvance Install Center website (for new Agvance users).
Install Agvance
Depending on the hardware configuration, the program files will either be installed on each workstation or on a shared terminal server.
First Time In: Initialize Database
First Time Agvance Installations
The first time logging into the blank Agvance dataset, there is a one-time database initialization which will require the 3 or 4-character Verification Code from the Welcome to Agvance email. This process requires no interaction with SSI.
All Agvance users must have Full Control permissions to the Avdata, Avdemo, and Agvimage folders.
Installing SQL on the Data Servers
SQL Server must be installed on the data server in order to operate Agvance. Refer to SSI's hardware recommendations for a list of supported SQL versions. Hardware recommendations and more information about SQL Server options are available on the customer website Installation Center from the link in the Welcome to Agvance email. Contact your hardware technician with any questions about obtaining or installing SQL Server.
SQL Express does not include the Server Agent necessary for scheduled database images and the Agvance Reports Agent.
Downloading the Agvance Installer
Follow the link in the Welcome to Agvance email to reach the customer website. Choose Installation Center. The Installation Center has additional information about hardware readiness, SQL options, and third-party software that would be valuable to review before proceeding with the install.
Follow the Agvance Program Files link to download the installer (Setup.exe). Setup.exe can be placed in a shared network location, copied to a thumb drive, or downloaded separately onto each machine.
Installing Agvance
Before Installing
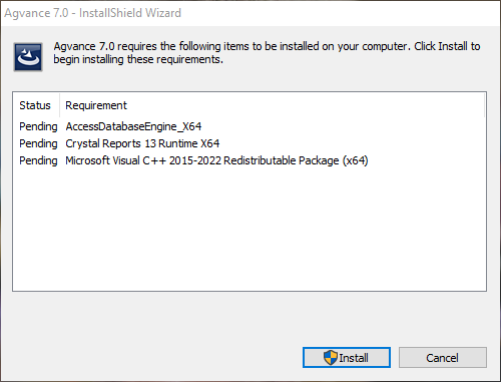
The Agvance install will check for certain prerequisites. If any of the prerequisites are not found, the install will automatically download and install them before continuing with the Agvance install.
Install Instructions
The following process loads the program code onto each workstation or terminal server, generally in the Program Files / Agvance folder. This process will be repeated for each computer requiring the Agvance program files.
- Find the Setup.exe file downloaded in the previous section. Double-click on this file to begin the install.
Note: Do not right-click and run as administrator. - If any prerequisites must be downloaded, the requirements screen will display (see the Before Installing section above). Choose Install to continue.
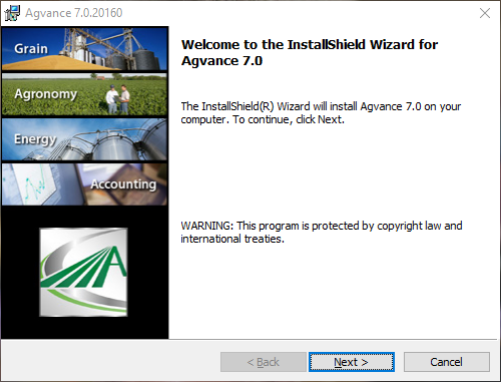
- Choose Next at the Install Welcome screen.
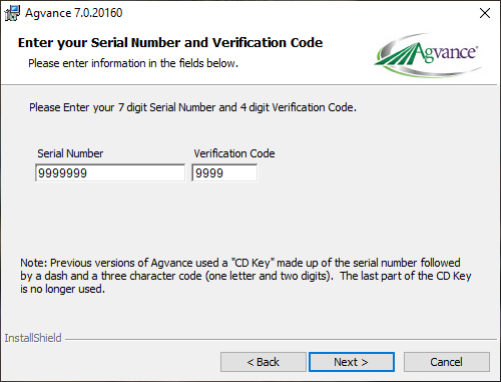
- Enter the 7-digit Serial Number and 4-digit Verification Code from the Welcome to Agvance email when prompted.
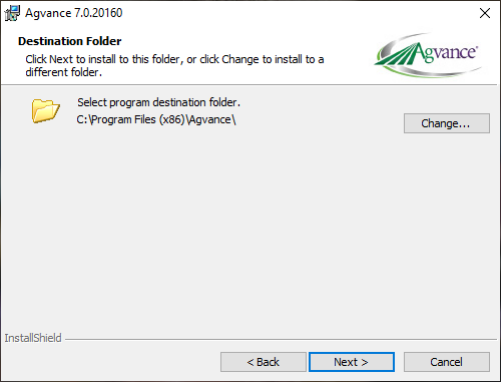
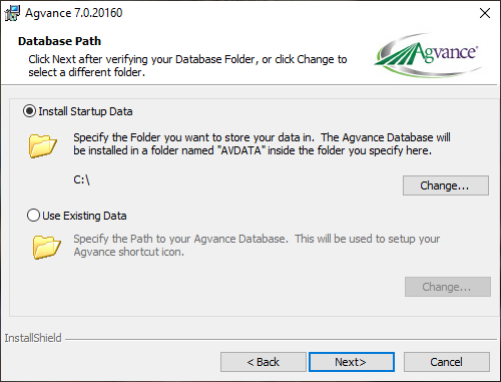
- Specify the location on the local hard drive where Agvance Program Files should reside. Accepting the default by selecting Next is recommended.
- If Agvance data has already been set up, choose Use Existing Data and specify where the data is located. In many cases, the Installation Wizard will automatically detect existing data. To specify a different location, choose Change.
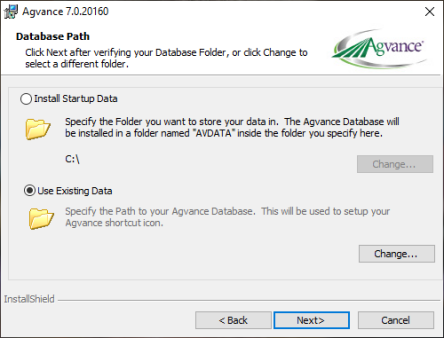 Or, if this is the first time installing Agvance, choose Install Startup Data, and specify the mapped drive where the data should be installed. The Agvance data will be installed in a folder named AVDATA inside the drive (or folder) specified here.
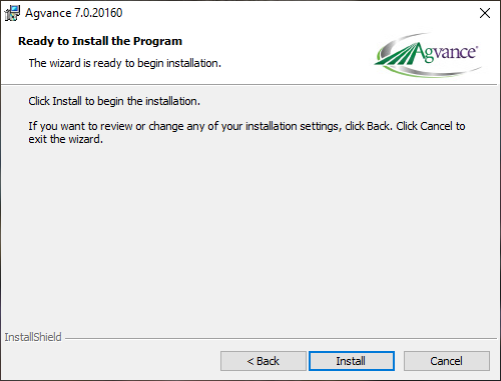
- Choose Install to continue.
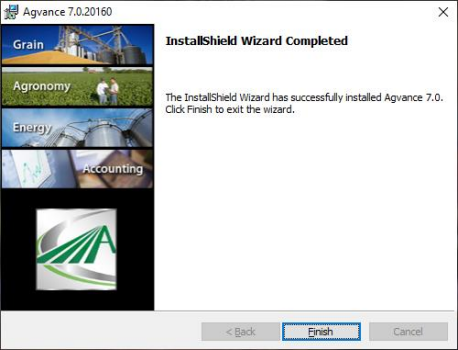
- A final screen will display when the installation is complete. Select Finish to exit the install.
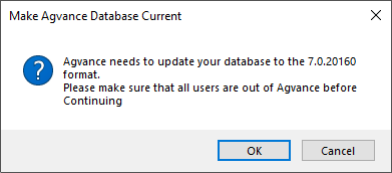
- This message displays when first logging into Agvance.
- Repeat this install process for each machine requiring the Agvance Program Files


 Or, if this is the first time installing Agvance, choose Install Startup Data, and specify the mapped drive where the data should be installed. The Agvance data will be installed in a folder named AVDATA inside the drive (or folder) specified here.


Terminal Services Environment
A few notes for those running Agvance in a Terminal Services or Citrix environment:
Unique Profiles
Each Agvance user logging into the terminal server must have a unique Windows profile, so they will each have their own configuration file (required by Agvance).
Individual User Icons
The installation will automatically place one Agvance icon into the All Users profile. Any person logged in as a terminal server client will see the Agvance and Lesson icons. If it is preferred for only selected terminal server clients to have access to Agvance, then these icons must be copied into the individual users’ profiles. User folders are created in the profile folder the first time they log onto the server. If the user folder is missing, log in once as that user, then try finding the profile folder again.
Lesson Data for Each User
To allow each User to work through the various tutorials provided with the demonstration data set provided, contact an SSI support staff member to help set up copies of the demonstration data (where our sample company data is stored) for each user.
Shadowing Option
If the terminal services software has shadowing capabilities, optionally establish shadowing rights to key staff so they can demonstrate techniques during a remote user’s login session.
Entering Agvance for the First Time
Short Date Format
In the Control Panel under Regional and Language Options, the Short Date Format must be changed to mm/dd/yyyy before running Agvance for the first time. The exact path to this setting varies by operating system.
In a Terminal Services environment, the Short Date Format will need to be changed in each user’s profile.
Database Initialization
If choosing to install the startup (blank) data, the first user who accesses an Agvance database will see the following screen. This process prepares a copy of SSI's master database prepped and ready to have company data entered (in the case of lesson data, a demonstration dataset complete with master files like customers, products, and transactions). The lesson dataset is designed to be used with the lessons or tutorials provided in the back of each section of the manual.

- Verification Code – Enter the 3 or 4-digit key from the Welcome to Agvance email.
- Database Instance – Generally left blank
- Server User ID – Enter sa
- Server User Password – Enter your SQL sa password
- <Server Path> – Enter the path where the data resides from the server’s perspective. This is the physical drive path, not the mapped drive path. For instance, if drive letter X: has been mapped to point to C:\DataFolder, then enter C:\DataFolder\ here, not X:\.
- Company Information – Enter the company Name, Address, and other pertinent information. These can be later edited at Hub / Setup / Company.
Custom Programming
If your company has Custom Programming, it will need to be installed on each workstation that accesses that functionality after the Agvance installation is complete. Custom Programming can be easily downloaded from within Agvance with the Install/Update Custom option in the Custom Features menu.
Installing Custom Programming
Go to Hub / Utilities / Custom Features / Install/Update Custom.
Agvance will download and install the latest version of custom files from the web server. This process will take a few minutes and a notification will display when the installation is complete.
The same permissions are required for Install/Update Custom as are required to install an Agvance update.
Custom Programming must be reinstalled after each Agvance update. The Install/Update Custom utility can also be used to retrieve a new version of custom files between Agvance updates if changes have been requested.
